By Lily, Master Embroidery Designer & Beginner Mentor
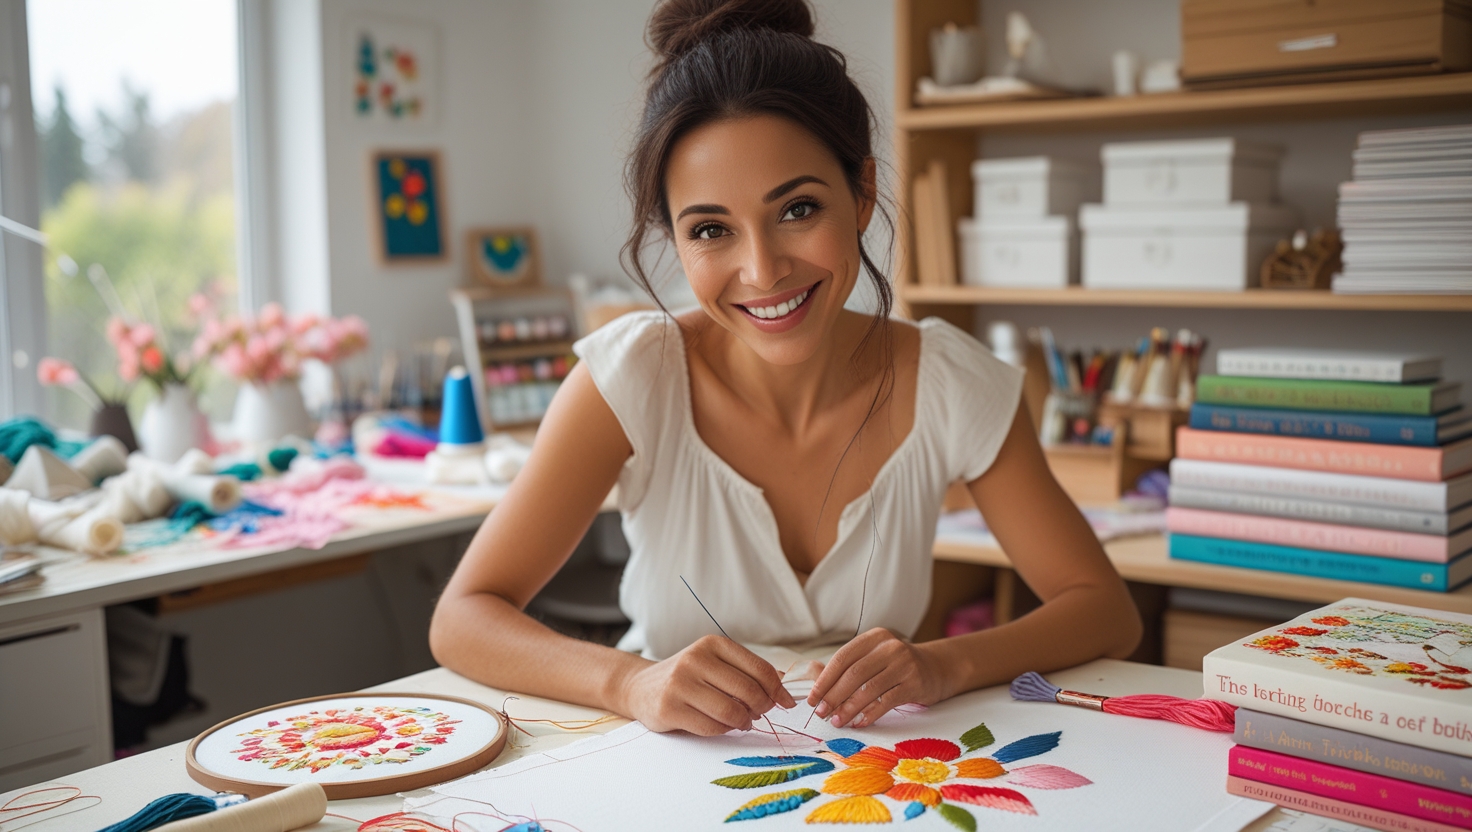
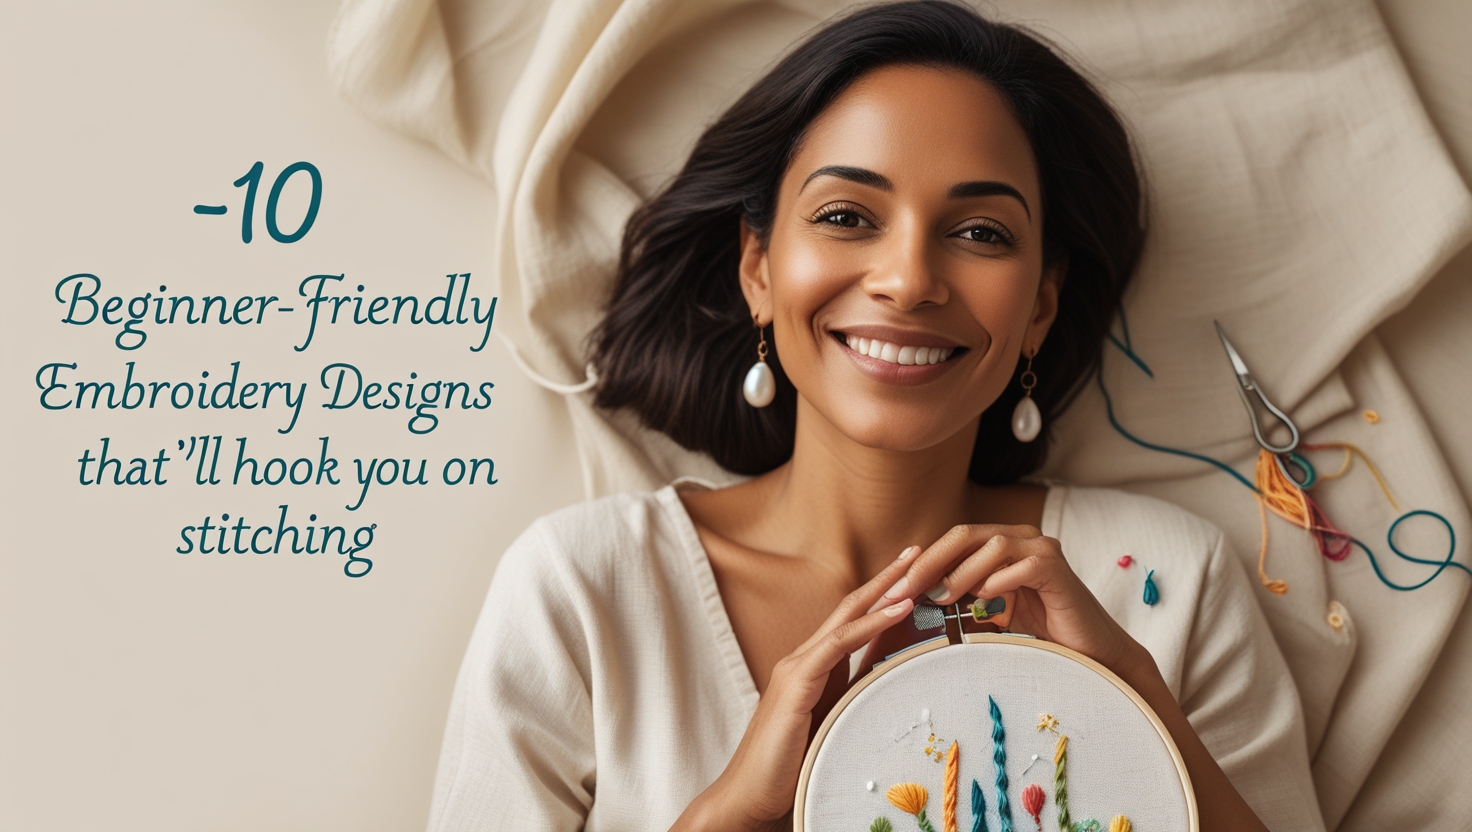
Ready to dive into the wonderful world of hand embroidery? Whether you have never held a needle before or you are looking to brush up on the absolute basics, our step-by-step guide to beginner-friendly embroidery designs will have you stitching gorgeous pieces in no time. Let us unravel the craft together!
The Magic of Beginner-Friendly Embroidery
Let us face it. Starting a new craft can feel downright overwhelming when you are staring at colorful floss and assorted needles, wondering what on earth you got yourself into. But here is the comforting truth: embroidery is one of the most forgiving crafts out there for beginners. Unlike knitting where dropping a stitch can unravel your whole project, embroidery lets you unpick and redo your stitches as many times as you need without harming your fabric.

The real beauty of starting with simple designs is that they teach you fundamental techniques while still looking stunning when finished. These projects build your confidence and produce lovely results that will have your friends asking, “You made that?!”
Essential Supplies Before You Begin
Before jumping into our stitching projects, let us gather our toolkit. Nothing kills your crafting mood faster than getting excited about a design only to realize you are missing a crucial supply.
Your Beginner Embroidery Toolkit:
- Embroidery hoops: A 6-inch hoop is ideal for keeping your fabric drum-tight.
- Embroidery needles: Sizes 7 to 9 work wonderfully for standard cotton fabrics.
- Embroidery floss: DMC threads offer reliable colorfast quality.
- Fabric: Medium-weight cotton or plain linen provides a sturdy weave for learning.
- Scissors: Small, sharp snips for clean thread trimming.
- Transfer tools: Water-soluble pens or carbon transfer paper.
Design #1: Simple Daisy Chain
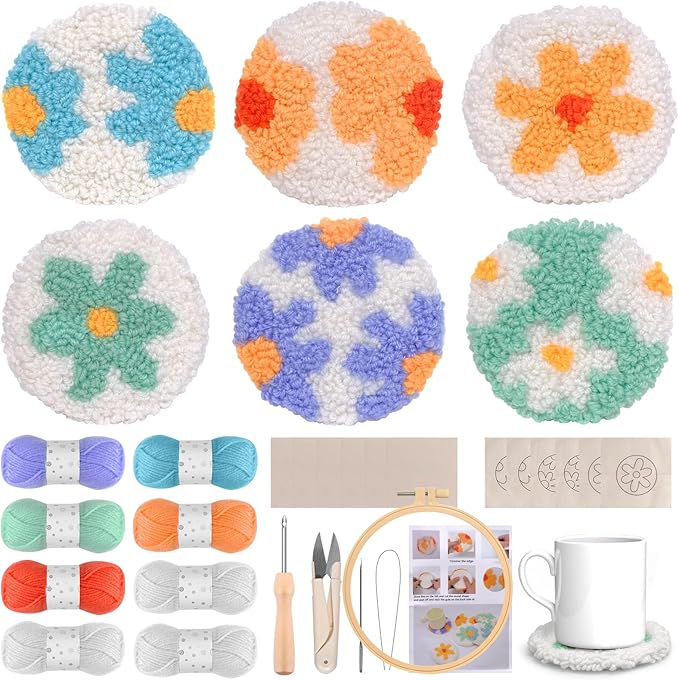
Ah, the humble daisy—nature’s simplest flower and the absolute best introduction to needlework! This design teaches you two fundamental stitches: the straight stitch for delicate petals and the French knot for textured centers.
What makes daisies so forgiving for beginners is that each petal does not need to be identical. A bit of organic asymmetry adds natural charm and character to your hoop.
Lily’s In-Depth Recommendation:
Stitch Technique: For French knots, wrap your floss around the needle twice before reinserting it close to the entry point to form neat little flower centers.
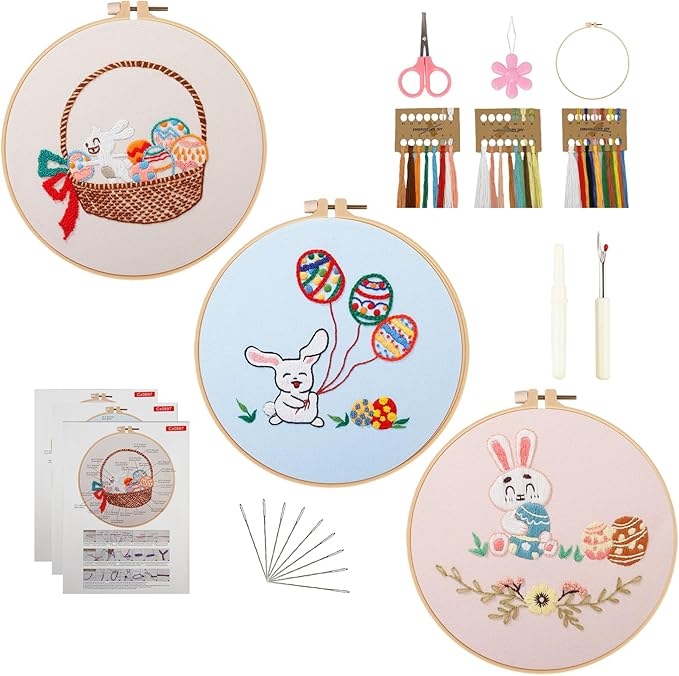
Kit Option: If you prefer guided starter tools, punching kits like this offer a fun tactile alternative to traditional stitching.
Design #2: Geometric Patterns
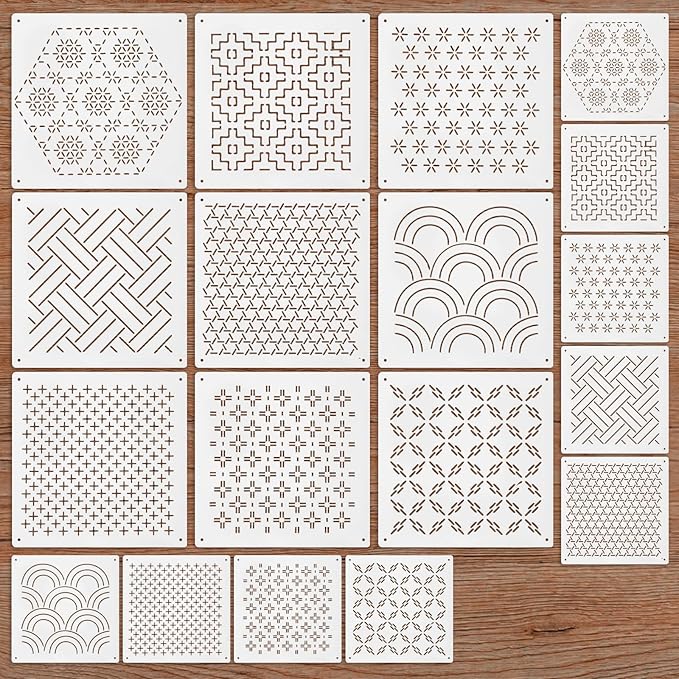
There is deep satisfaction in creating clean lines and crisp shapes. Geometric embroidery patterns rely heavily on the sturdy backstitch, which builds solid, continuous outlines.
Using stencils or template guides helps you map out precise points on your fabric before pulling your needle through, ensuring sharp corners and steady spacing.
Lily’s In-Depth Recommendation:
Precision Tip: Mark your grid points with a water-soluble pen first so your lines stay straight and consistent.
Sashiko Inspiration: Traditional stencil templates make it easy to practice repetitive running stitches with meditative rhythm.
Design #3: Typography and Simple Quotes
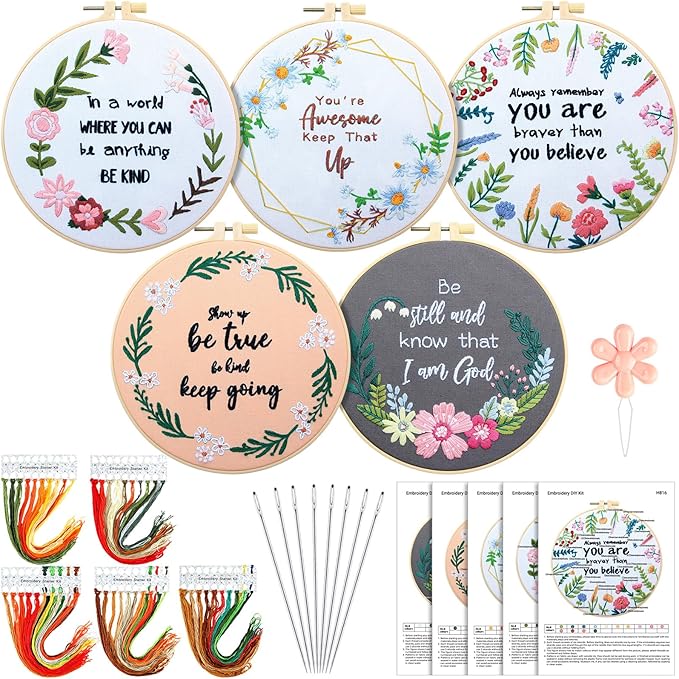
Inspirational quotes and meaningful words displayed inside hoops have become immensely popular home accents. For beginners, sticking to clean block letters rather than complex cursive makes text stitching straightforward.
Tracing pre-printed quotes onto your fabric removes all guesswork regarding letter alignment, letting you focus entirely on smooth thread tension.
Lily’s In-Depth Recommendation:
Stitch Choice: Use a split stitch or backstitch for lettering so the lines remain sharp and legible from across the room.
Meaningful Gifts: A hoop featuring a friend’s favorite short phrase makes a deeply personal, cherished handmade present.
Design #4: Leaf and Vine Borders
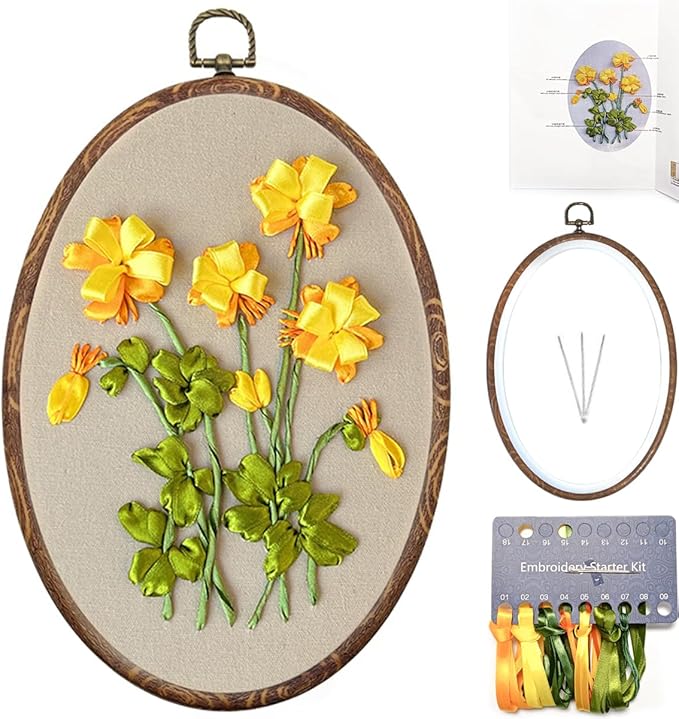
Borders frame your embroidery work beautifully while offering fantastic practice in maintaining steady rhythm along a continuous curved line.
Incorporating dimensional ribbon elements adds wonderful tactile depth, transforming simple botanical vines into lush, eye-catching textile art.
Lily’s In-Depth Recommendation:
Ribbon Tension: When working with silk ribbons, do not pull your stitches too tight or the fabric will pucker. Let the ribbon rest softly on the surface.
Application: Use floral ribbon vines to embellish plain tea towel hems or canvas tote bag edges.
Design #5: Simple Landscape Silhouettes
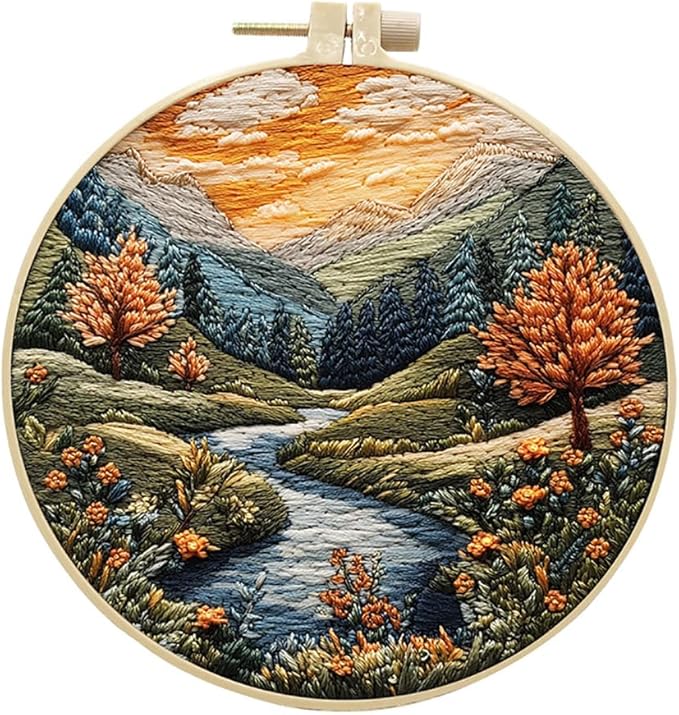
Creating a miniature nature scene using just needle and thread is deeply rewarding. Silhouette landscapes rely almost entirely on straight stitches and backstitches, making them remarkably approachable.
Nature is wonderfully imperfect, meaning your mountain ranges and pine trees do not need strict mathematical symmetry to look authentic and peaceful.
Lily’s In-Depth Recommendation:
Composition: Pay attention to negative space. Leaving empty sky above your mountain peaks gives the scene breathing room and artistic balance.
Starter Kits: Pre-stamped landscape hoops take away transfer stress so you can focus entirely on enjoying your stitches.
Design #6: Flower Wreaths
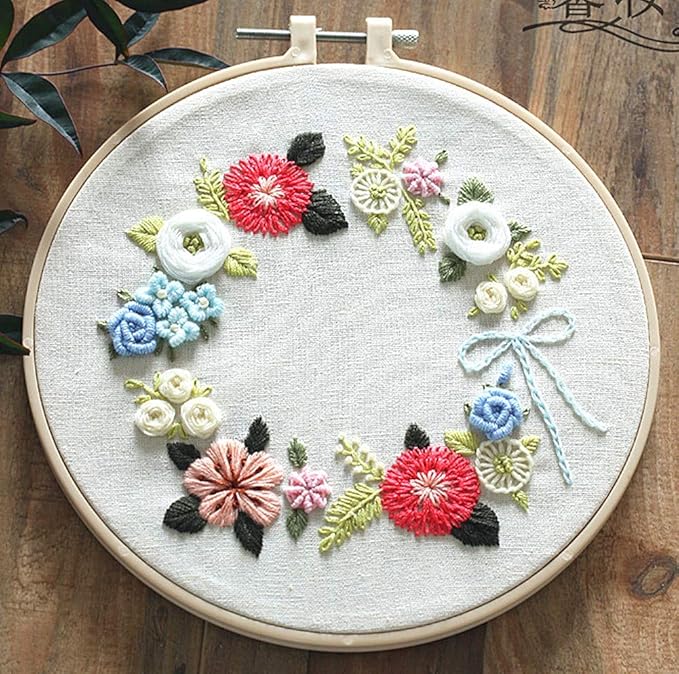
Wreaths provide natural circular structure for beginners who might feel hesitant about free-form composition. Arranging florals in a ring looks instantly balanced and polished.
Combining lazy daisy flowers, French knot berries, and straight stitch leaves along a circular vine introduces you to layering elements for rich visual depth.
Lily’s In-Depth Recommendation:
Circle Guide: Trace a small drinking glass or jar lid onto your fabric with a water-soluble pen to keep your wreath ring perfectly round.
Display Idea: Leave your finished floral wreath right inside its wooden hoop to hang on a gallery wall.
Design #7: Polka Dot Patterns
Sometimes the simplest motifs make the boldest statements. Polka dot embroidery lets you practice French knots or small satin stitch circles while building a playful, modern aesthetic.
Polka dots offer instant gratification because each dot is a complete mini-achievement, allowing you to see satisfying progress with every single knot.
Lily’s In-Depth Recommendation:
Knot Consistency: Practice your French knots on scrap fabric first until you achieve uniform size before stitching your final piece.
Color Play: Create a cheerful ombré effect by shifting from deep teal to pale aqua across your dots.
Design #8: Cross-Stitch Sampler
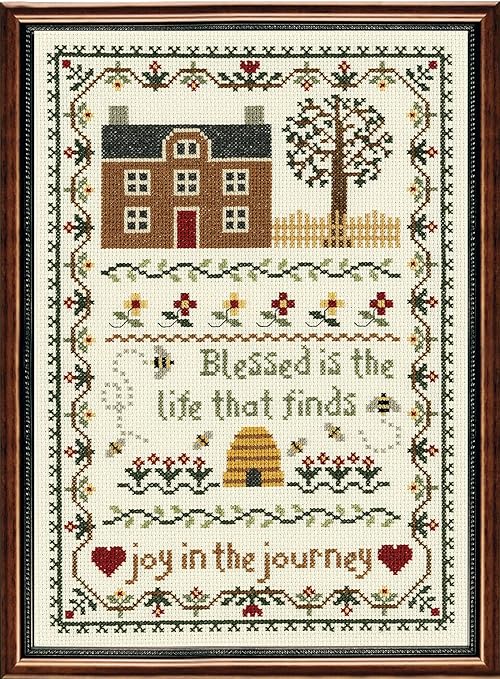
Incorporating small areas of cross-stitch into your needlework adds wonderful grid-like texture and geometric structure.
Using even-weave fabrics like Aida cloth makes cross-stitch exceptionally beginner-friendly because the fabric weave naturally guides your needle placement.
Lily’s In-Depth Recommendation:
Direction Consistency: Always cross your top stitches in the exact same direction (e.g., all top legs slanting right) for a polished look.
Counting Aid: Use washable grid markers to break large patterns into manageable 10×10 squares.
Design #9: Simple Animals
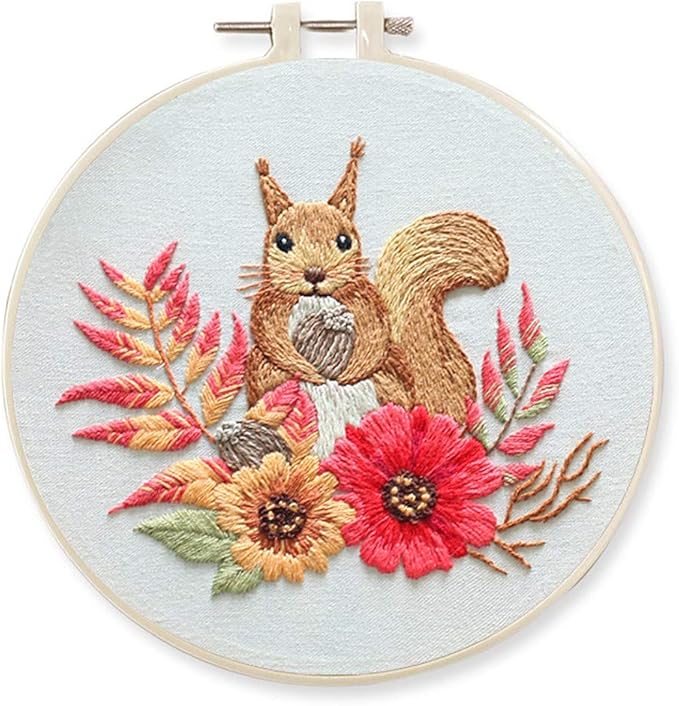
Adorably charming animal silhouettes teach outline stitching while resulting in gift-worthy keepsakes that everyone instantly recognizes and loves.
Sticking to side-view profiles rather than complex facial angles helps you navigate curves and smooth outlines with confidence.
Lily’s In-Depth Recommendation:
Confidence Boost: Animal silhouettes rely on recognizable shapes, making them fantastic projects for quick emotional rewards.
Stitch Technique: Use short backstitches along tight curves to keep your animal’s outline smooth and rounded.
Design #10: Seasonal Motifs
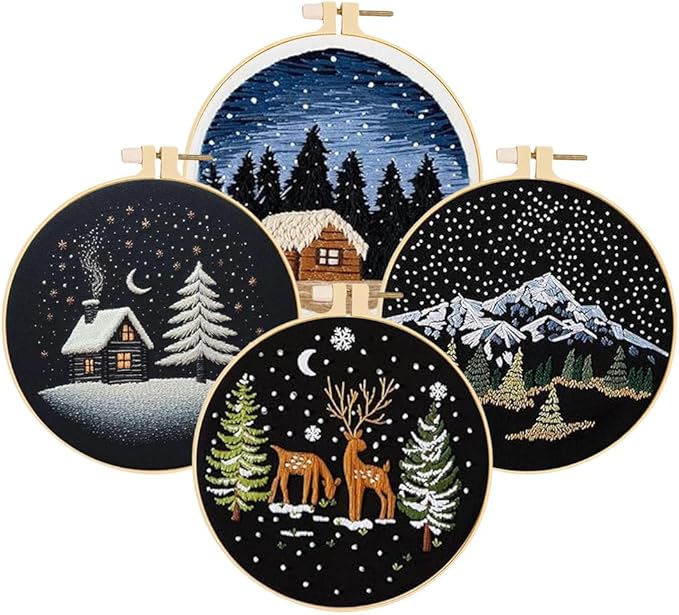
The changing seasons provide endless inspiration for simple botanical or holiday motifs. Fall leaves, spring blossoms, or winter snowflakes come together easily with basic stitches.
Seasonal pieces take the pressure off perfection because organic elements in nature naturally vary in shape and color shading.
Lily’s In-Depth Recommendation:
Shading Practice: Try blending two tones of floss within a single leaf or petal to learn basic thread painting.
Holiday Decor: Hang your finished seasonal hoops around the house to celebrate holidays with handmade warmth.

Written by Lily
Embroidery Designer & Beginner Mentor
I teach stitchers how to master basic embroidery stitches and build confidence through approachable, charming designs. I focus on clear techniques and relaxing pacing so your handmade hoops bring joy from day one.
Affiliate Disclosure: This post contains affiliate links to Amazon and other trusted craft retailers. If you click through and make a purchase, I may receive a small commission at no extra charge to you. I only recommend tools and kits I trust and love.