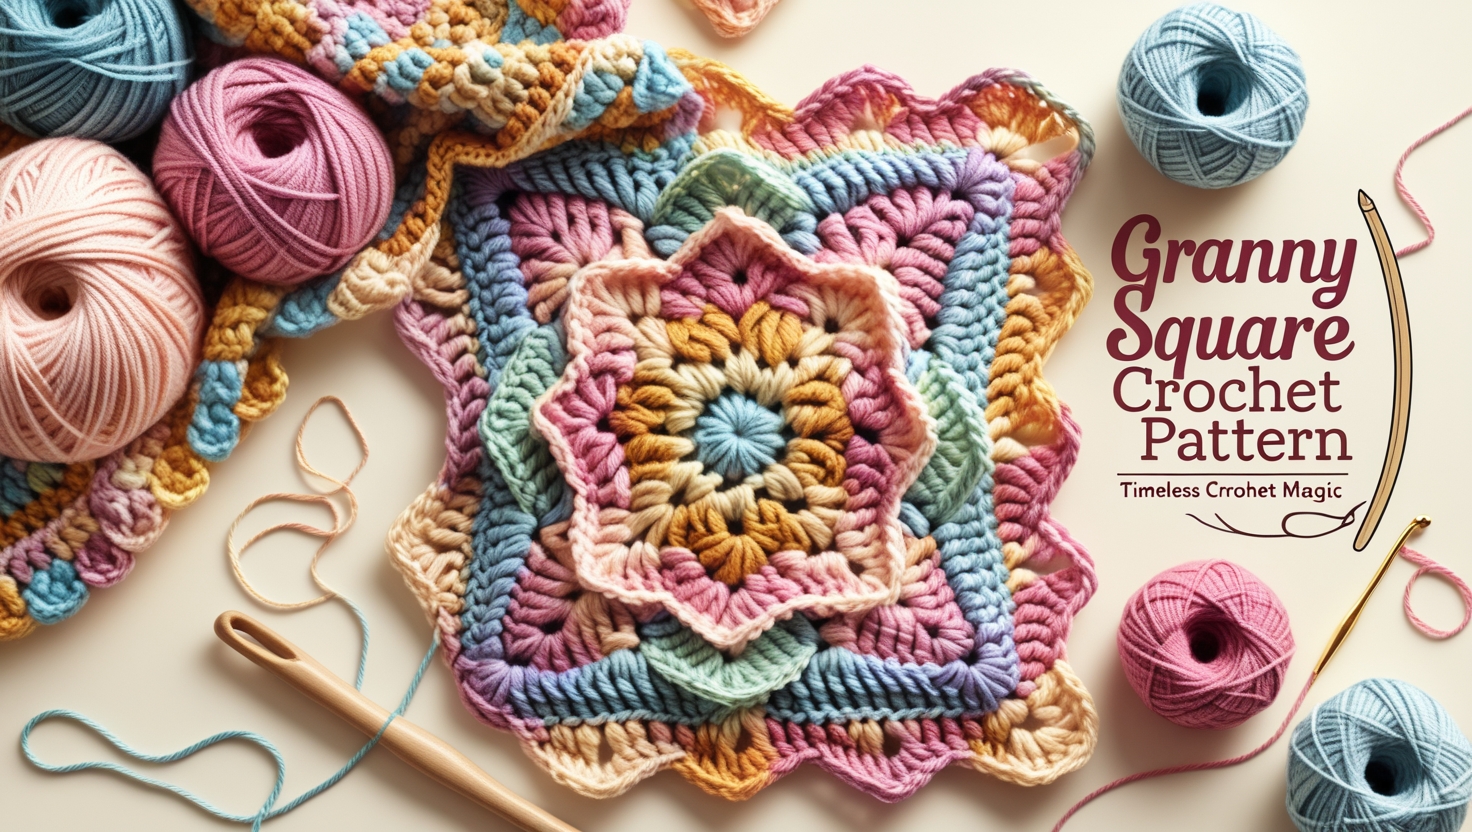
Ready to dive into the wonderful world of granny squares? You’re about to embark on a crochet journey that’s been captivating crafters for generations! This timeless technique isn’t just a pattern—it’s a passport to endless creativity, cozy comfort, and therapeutic relaxation.
What Makes Granny Squares So Irresistibly Popular?
Well, here’s the thing—granny squares aren’t just your grandmother’s favorite pastime anymore! These delightful little squares have experienced quite the renaissance, and honestly, it’s not hard to see why. They’re like the Swiss Army knife of the crochet world: versatile, practical, and surprisingly addictive once you get started.
The beauty of a granny square crochet pattern lies in its simplicity. You’re working with basic stitches—chain, slip stitch, and double crochet—but the magic happens when you start combining colors and joining squares together. It’s like building with colorful, soft LEGO blocks, except way more relaxing and infinitely more huggable!

What’s truly fascinating is how this traditional technique has adapted to modern times. Today’s crocheters are pushing boundaries, experimenting with gradient yarns, metallic threads, and even unconventional materials. Some crafters are creating stunning wall art, while others stick to the classic afghans that made granny squares famous in the first place.
Getting Started: Essential Supplies and Preparation
Before you dive headfirst into your first square, let’s talk gear. Don’t worry—you won’t need to break the bank! The beauty of granny square crochet lies in its accessibility.
Your Shopping List:
- Yarn: Medium-weight (worsted weight) yarn works best for beginners
- Crochet Hook: Size H/8 (5.0mm) is your go-to starter size
- Scissors: Sharp fabric scissors for clean cuts
- Yarn Needle: For weaving in ends and joining squares
- Stitch Markers: Optional but helpful for keeping track
Here’s a pro tip that’ll save you headaches later: choose yarns with similar fiber content and care instructions when mixing colors. Cotton blends are fantastic for beginners because they’re forgiving, affordable, and machine-washable. Plus, they don’t shed like crazy all over your furniture!
Color selection can feel overwhelming at first. Start with three or four colors that speak to you—maybe a neutral base with two complementary accent colors. Remember, there’s no “wrong” choice here. Some of the most stunning afghans come from unexpected color combinations that initially seemed questionable.
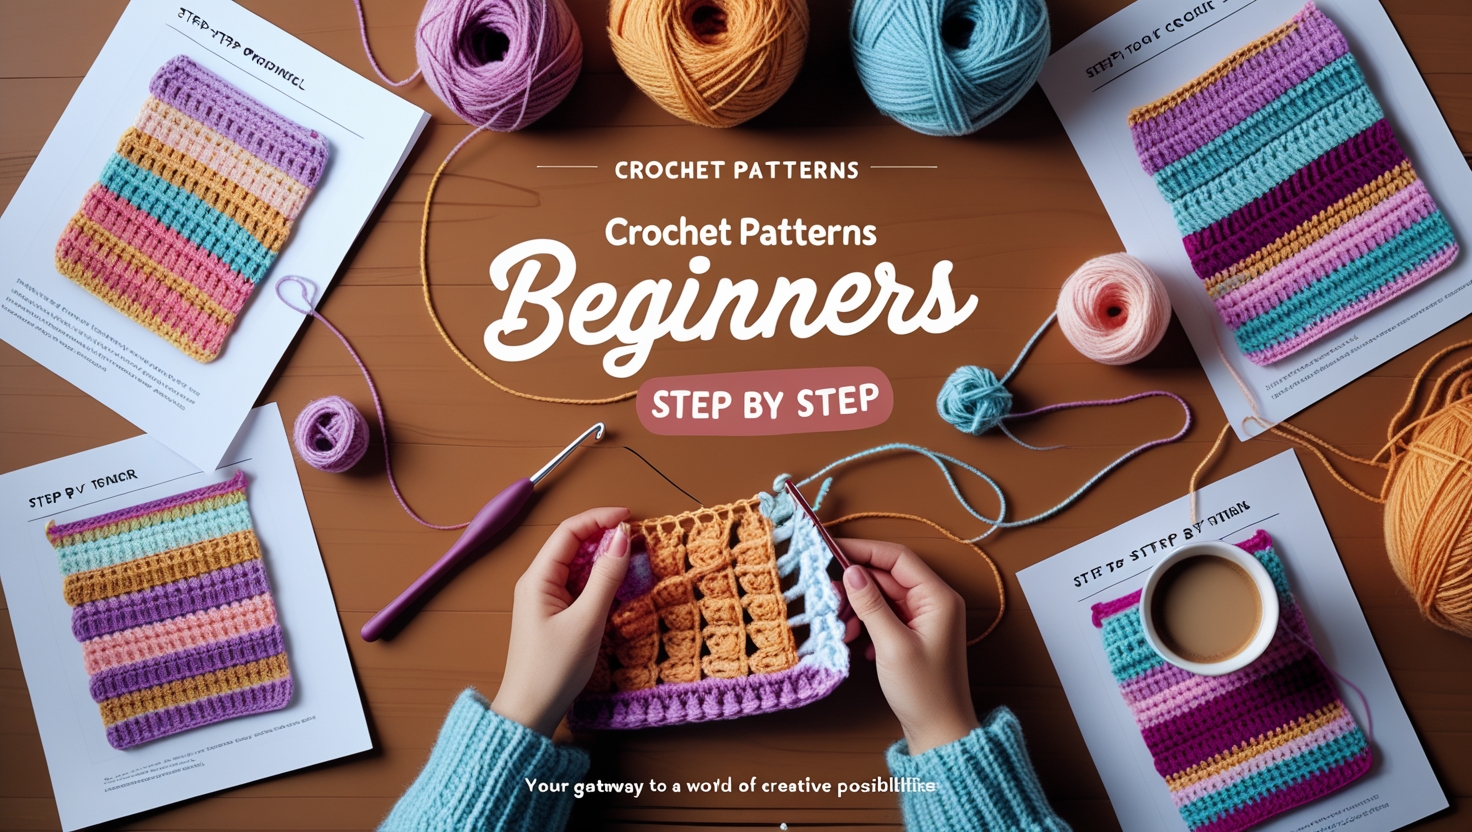
Step-by-Step Basic Granny Square Tutorial
Alright, let’s get our hands dirty—or should I say, yarny? This granny square crochet pattern might seem intimidating if you’re staring at a bunch of abbreviations and symbols, but trust me, once you get the rhythm down, you’ll be cranking out squares like a machine.
Round 1: The Foundation
Start with a magic ring (or chain 4 and join if you prefer the traditional method). Here’s where the magic begins! Chain 3 (counts as first double crochet), then work 2 more double crochets into the ring. Chain 2—this creates your corner space. Repeat this pattern three more times: 3 double crochets, chain 2. Join to the top of your beginning chain 3, and voilà—you’ve got your first round!
Round 2: Building the Structure
This is where things get exciting. Slip stitch to the first corner space, chain 3, then work 2 double crochets in the same space. Chain 2 for the corner, then 3 more double crochets in the same space. Now you’ve got your first corner completed! Chain 1, then move to the next corner space and repeat the pattern.
The rhythm becomes almost meditative: corner cluster, chain 1, corner cluster, chain 1. By the end of this round, you’ll have four distinct corners with chain-1 spaces between them. It’s starting to look like a proper square now, isn’t it?
Color Theory and Creative Combinations
Color—oh boy, this is where granny squares get really fun! You might think you need an art degree to choose good color combinations, but honestly, some of the most stunning squares come from trusting your instincts and playing around.
Classic Combinations That Never Fail:
- Monochromatic: Different shades of the same color
- Analogous: Colors next to each other on the color wheel
- Complementary: Opposite colors that create striking contrast
- Triadic: Three colors evenly spaced on the color wheel
Here’s something interesting—many traditional granny squares used whatever yarn was available, creating those wonderful “scrap afghans” that told family stories through color. Don’t be afraid to embrace this approach! Some of the most beloved afghans are those rainbow explosions that shouldn’t work but absolutely do.
Consider the psychology of color too. Warm colors (reds, oranges, yellows) create energy and coziness, while cool colors (blues, greens, purples) bring calm and serenity. Want something that feels both vibrant and soothing? Try a gradient approach, starting with deep blues and transitioning through teals to sunny yellows.
Troubleshooting Common Beginner Mistakes
Let’s be real—everyone makes mistakes when they’re learning, and granny squares aren’t exempt from the occasional “oops” moment. The good news? Most mistakes in granny square crochet are totally fixable, and some even lead to happy accidents that become design features!

The Wonky Square Syndrome
If your square looks more like a wonky rhombus than a proper square, you’re probably dealing with tension issues. This is super common and nothing to stress about! Consistent tension comes with practice, but here are some quick fixes: make sure you’re not pulling your yarn too tight, and count your stitches religiously in the beginning.
The Mysterious Growing Square
Sometimes squares seem to have a mind of their own and keep growing larger with each round. Usually, this means you’re accidentally adding extra stitches somewhere. The most common culprit? Working into the chain-3 space instead of skipping it when you join rounds. Remember, that chain-3 counts as a stitch!
Holes that seem too big, corners that curl, ends that won’t stay tucked—we’ve all been there! The beautiful thing about granny squares is that they’re incredibly forgiving. Even if your first few squares look a bit rough around the edges, they’ll still join together beautifully in a finished project.
Advanced Techniques and Variations
Once you’ve mastered the basic granny square crochet pattern, the world becomes your oyster! There are countless variations that can take your skills from beginner to “wow, did you really make that yourself?”
Solid Granny Squares
These squares use the same construction technique but work each round in a single color, creating beautiful, dense fabric. They’re perfect for more modern, minimalist projects and work up surprisingly quickly once you get into a groove.
Granny Stripes and Half-Squares
Want to add some geometric interest to your projects? Granny stripes create stunning diagonal patterns, while half-squares are perfect for finishing edges or creating unique shaped afghans. These variations use the same basic stitches but approach construction from different angles—literally!
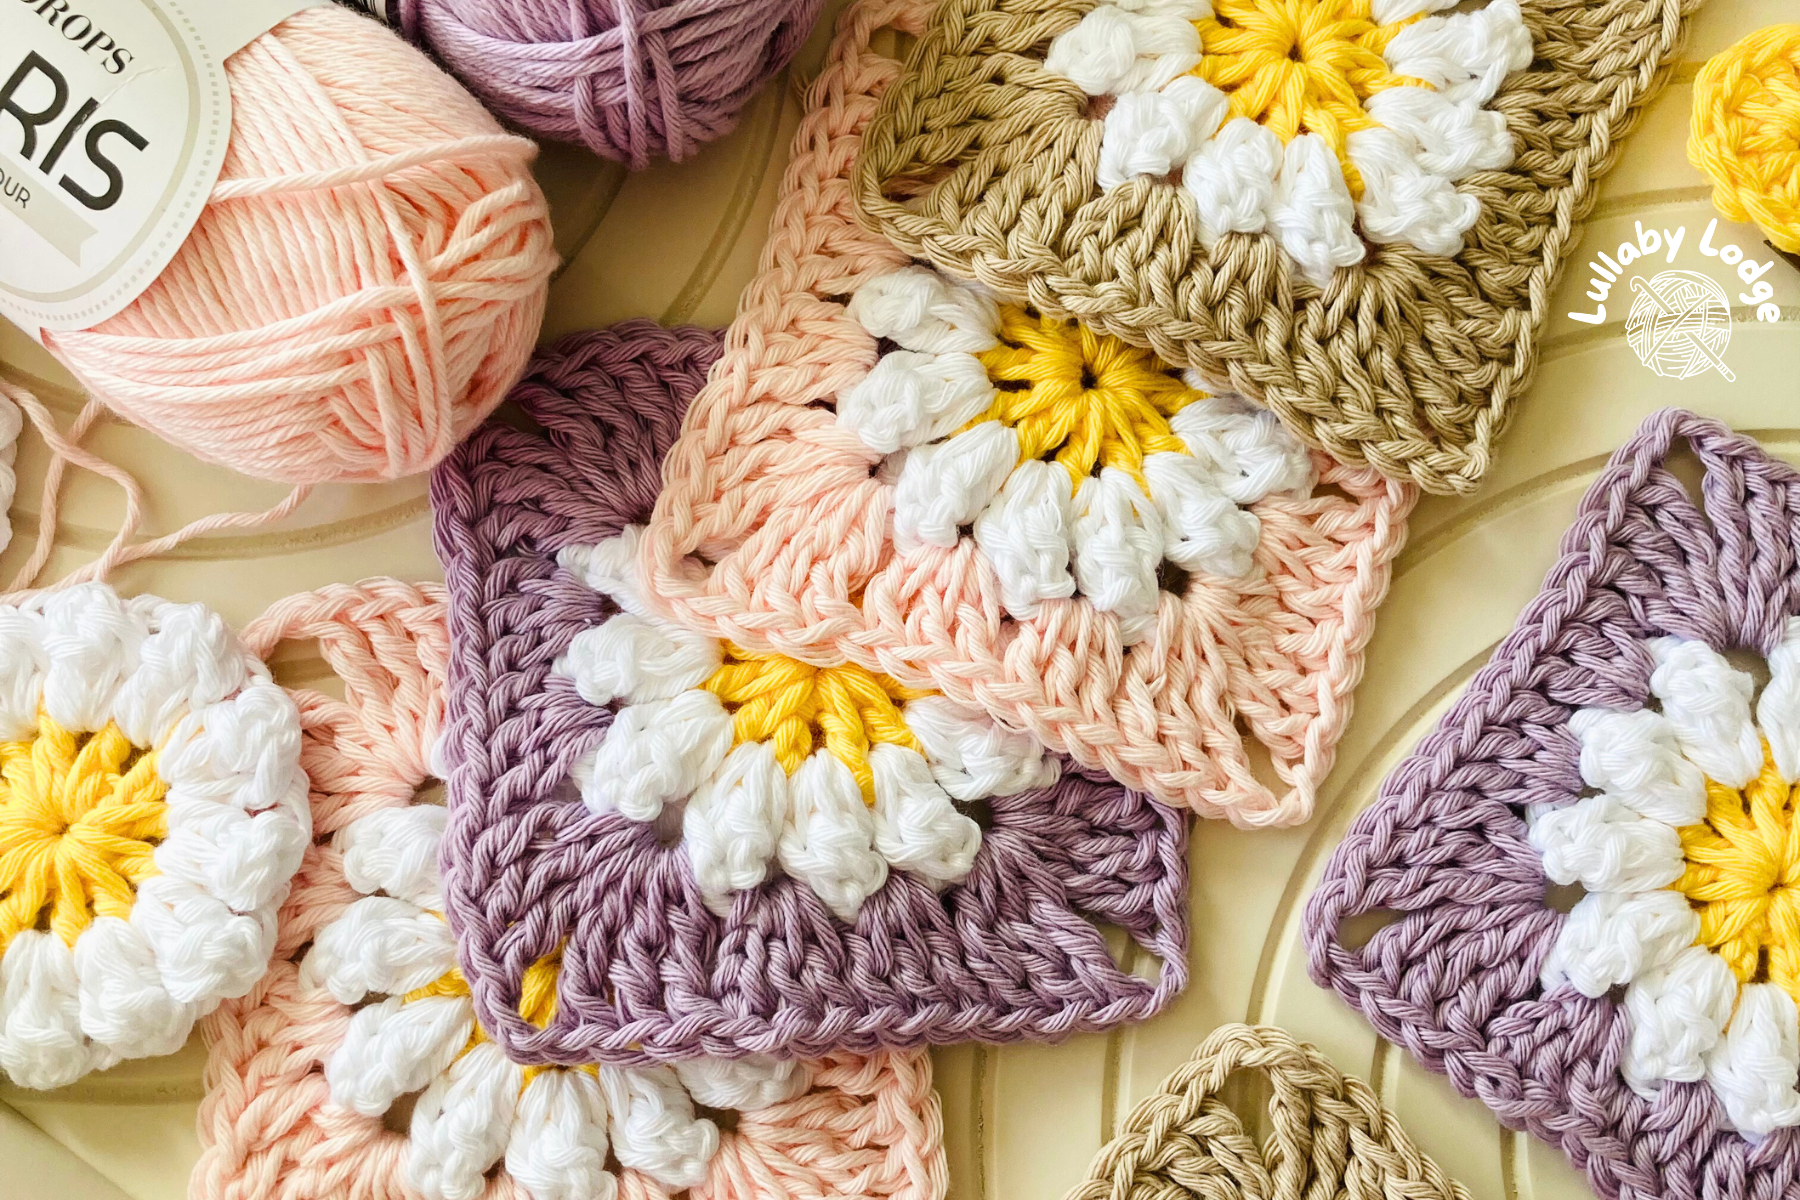
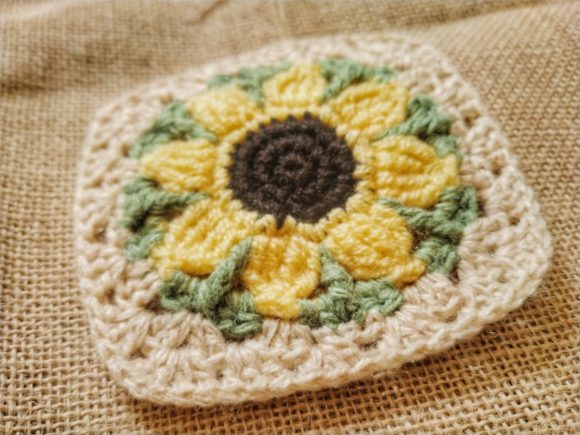
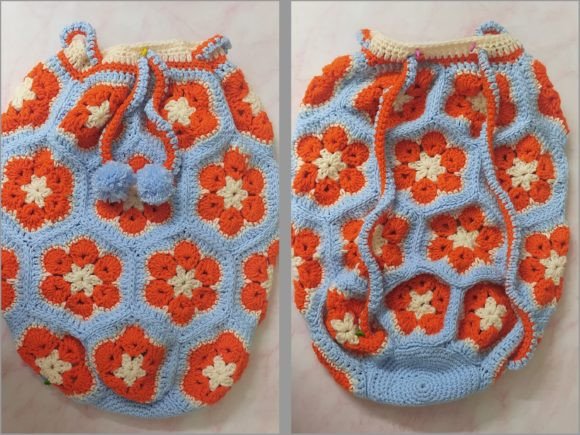
The African Flower pattern deserves special mention here. While technically not a traditional granny square, it uses similar principles to create gorgeous flower-like motifs that join together in absolutely stunning ways. It’s like granny squares went to art school and came back with a master’s degree in beauty!
Project Ideas: From Simple to Show-Stopping
Here’s where your granny square journey gets really exciting—turning those individual squares into something amazing! The versatility of these little beauties is honestly mind-blowing.
Quick Weekend Projects:
- Coasters and trivets (single squares with borders)
- Pot holders (two squares joined with batting)
- Baby bibs (creative shaping with granny square elements)
- Phone cases (sized to fit with button closure)
Medium-Term Makes:
- Throw pillows (four to six squares joined)
- Table runners (squares joined in strips)
- Baby blankets (25-36 squares create perfect size)
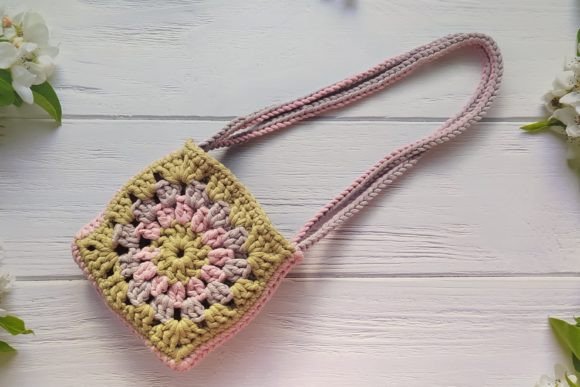
- Tote bags (squares for panels, handles added)
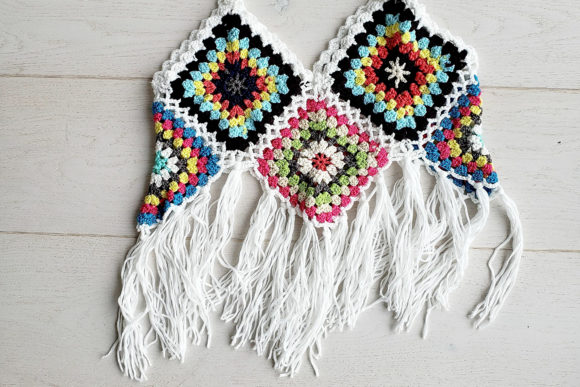
For those really ambitious projects—we’re talking full-size afghans, bedspreads, or even wearable art—planning becomes crucial. Graph paper is your friend here! Sketch out your color placement, calculate your yarn needs, and maybe make a few extra squares “just in case.” Trust me on this one—you’ll thank yourself later when you inevitably fall in love with the project and want to make it bigger.
Joining Methods: Bringing It All Together
Ah, joining—the step that transforms individual squares into cohesive masterpieces! This is where many crocheters feel a bit overwhelmed, but honestly, it’s just another skill to master, and there are several approaches to choose from.
The Whip Stitch Method
This is probably the most beginner-friendly approach. You’re literally sewing squares together using a yarn needle, working through the back loops only. It creates a slightly raised seam that many people actually love as a design feature. The key here is consistency—keep your stitches evenly spaced and don’t pull too tight.
Join-as-You-Go (JAYG)
This method is absolutely genius for larger projects because you join squares as you complete them, eliminating that massive joining session at the end. It does require a bit more planning upfront, but the time savings and reduced bulk make it totally worth learning.
The slip stitch join creates clean, flat seams that are perfect for wearables or anything that needs to lay smoothly. Single crochet joins add a bit of structure and can become decorative elements in their own right, especially when worked in contrasting colors.
Care and Maintenance Tips
Let’s talk about keeping your granny square creations looking gorgeous for years to come. After all, you’ve put time, love, and probably a fair amount of yarn into these projects—they deserve proper care!
The first rule of granny square care: always check your yarn labels before mixing different fibers in a project. Cotton and acrylic blends are generally low-maintenance and machine-washable, making them perfect for everyday items like baby blankets or throw pillows.
For washing, gentle cycles are your friend. Use cool water and mild detergent, and consider using a mesh laundry bag for smaller items. Here’s a pro tip that many people don’t know: add a cup of white vinegar to the rinse cycle occasionally to help maintain color vibrancy and remove any soap residue that might make your squares feel stiff.
Storage matters too! For projects you’re working on, keep squares flat in a project bag or box to prevent stretching. Finished afghans should be folded loosely with acid-free tissue paper between folds, or better yet, rolled around a tube if you have space.
Frequently Asked Questions
Q: How many granny squares do I need for a throw blanket? A: For a standard throw (about 50″ x 60″), you’ll need approximately 140-180 squares, depending on your square size. Most crocheters use 5-inch squares and arrange them in a 10×14 or 12×15 grid.
Q: Can I mix different yarn weights in one project? A: While it’s possible, it’s not recommended for beginners. Different yarn weights will create squares of varying sizes, which can be challenging to join neatly. Stick to one weight until you’re comfortable with the basic technique.
Q: Why do my squares curl at the corners? A: Corner curling usually indicates tension issues or missed corner chains. Make sure you’re working into the correct spaces and maintaining consistent tension throughout. Blocking can also help straighten stubborn corners.
Q: How do I calculate yarn requirements for large projects? A: A good rule of thumb: make 2-3 sample squares and weigh them, then multiply by your total square count. Add 10-15% extra for joining and potential mistakes. Most afghan-sized projects require 15-25 skeins of worsted weight yarn.
Q: What’s the best way to carry colors when changing every round? A: For frequent color changes, cut your yarn and weave in ends as you go, or use the standing stitch method to join new colors. Carrying multiple colors can create bulk and tangling issues.
Wrapping Up Your Granny Square Adventure
So there you have it—your complete guide to mastering the granny square crochet pattern! From that first tentative chain to joining squares into stunning finished projects, you’ve got all the tools you need to dive into this wonderfully addictive craft.
Remember, every expert was once a beginner. Those perfect, Instagram-worthy squares you admire? They came from hours of practice, plenty of frogging (ripping out stitches), and probably more than a few colorful words when things didn’t go according to plan. That’s all part of the journey, and honestly, it’s what makes the victories so sweet.
Don’t be afraid to experiment, make mistakes, and put your own spin on traditional patterns. The granny square has survived for generations precisely because it’s adaptable and forgiving. Whether you’re creating a simple baby blanket or an elaborate wall hanging, you’re continuing a tradition that connects you to countless crafters who found joy, comfort, and creativity in these simple squares.
Your hook is loaded, your yarn is ready, and your creativity is waiting to be unleashed. Time to make some magic happen, one square at a time!