


By Lily, Master Crafter & Pattern Designer
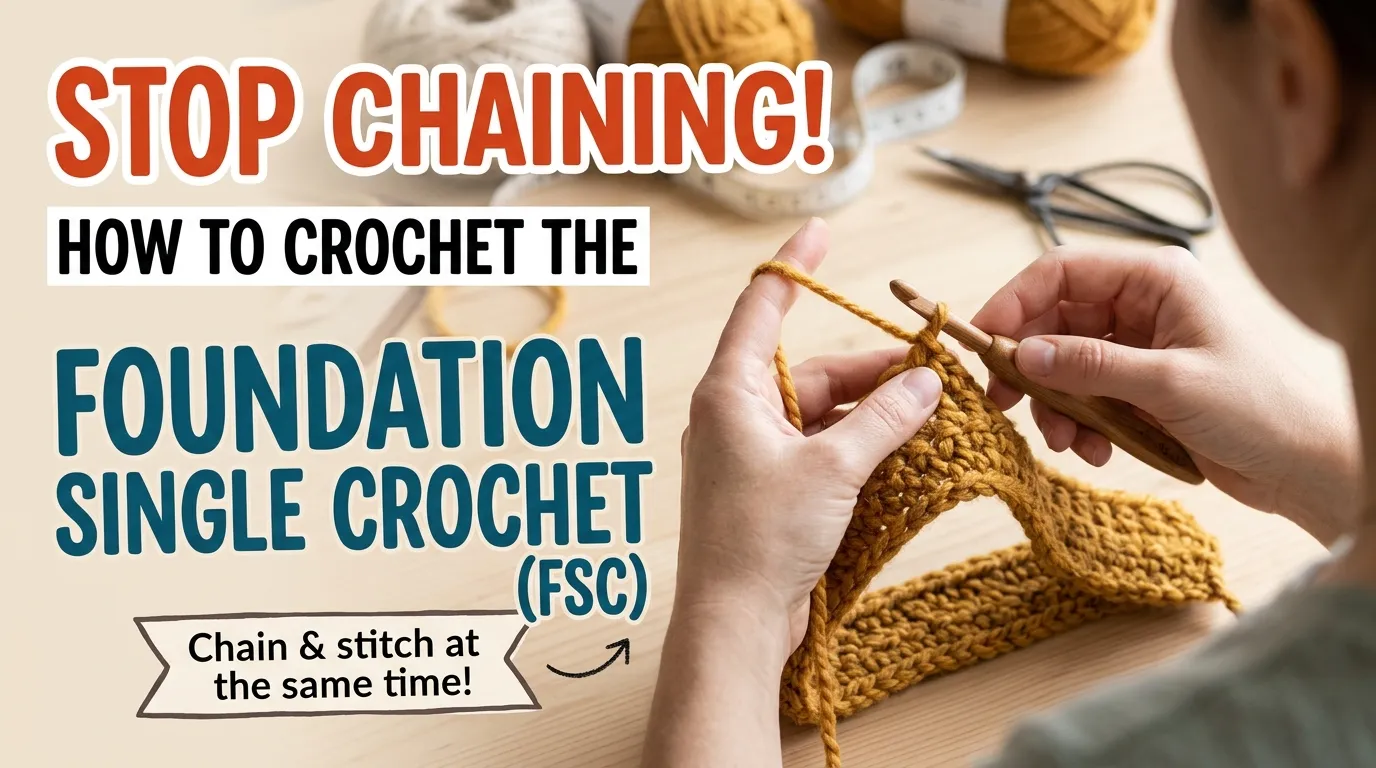
Do you absolutely hate making long starting chains? I hear this complaint from my crochet students constantly. First, you chain one hundred tiny stitches. Next, your tension becomes inevitably tight. Consequently, your blanket bottom curls into a rigid, frustrating rainbow shape.
This tight edge ruins beautiful garments completely. Actually, you can avoid this traditional starting chain entirely. Therefore, you must learn the foundation single crochet (FSC) stitch immediately. Indeed, this brilliant technique changes your crafting life forever.
The FSC creates your chain and your first row simultaneously. As a result, your starting edge becomes incredibly stretchy and perfectly straight. Below, I will break down exactly how to execute this magic stitch step-by-step. Thus, you will never struggle with a tight foundation again.
“
Lily’s “Chainless” Rule
Never use a traditional starting chain for wearable garments. Sweaters require immense stretch around the waistline. However, normal chains act exactly like a rigid, unforgiving belt. Instead, always use a foundation single crochet row. Thus, your handmade sweaters will fit your body flawlessly and comfortably.
Why the FSC is a Massive Game-Changer
First, the foundation single crochet provides unmatched elasticity. Next, it allows you to count stitches much easier. As a result, you will never lose a tiny chain loop again. Moreover, it saves you an incredible amount of time.
Consequently, you skip the agonizing process of working into back bumps entirely. Indeed, beginners often quit because the first row feels impossible. Therefore, mastering the FSC eliminates early project frustration perfectly.
Your Practice Setup
Before we begin, you must gather the correct materials. Using the wrong yarn makes learning this stitch extremely difficult.
- Smooth Worsted Yarn: Choose a light-colored acrylic yarn. Consequently, you can see your stitch anatomy clearly.
- Ergonomic Hook: Use a 5.0mm (Size H) hook. Thus, your hands will not cramp during practice. (I highly recommend this exact ergonomic kit on Amazon).
- Stitch Markers: You desperately need these. Place one in your very first stitch. Therefore, you will never lose your starting point.
Master the Basics First?
If you don’t know how to hold a hook yet, please read these tutorials first:
If you don’t know how to hold a hook yet, please read these tutorials first:
Step-by-Step: The Foundation Single Crochet
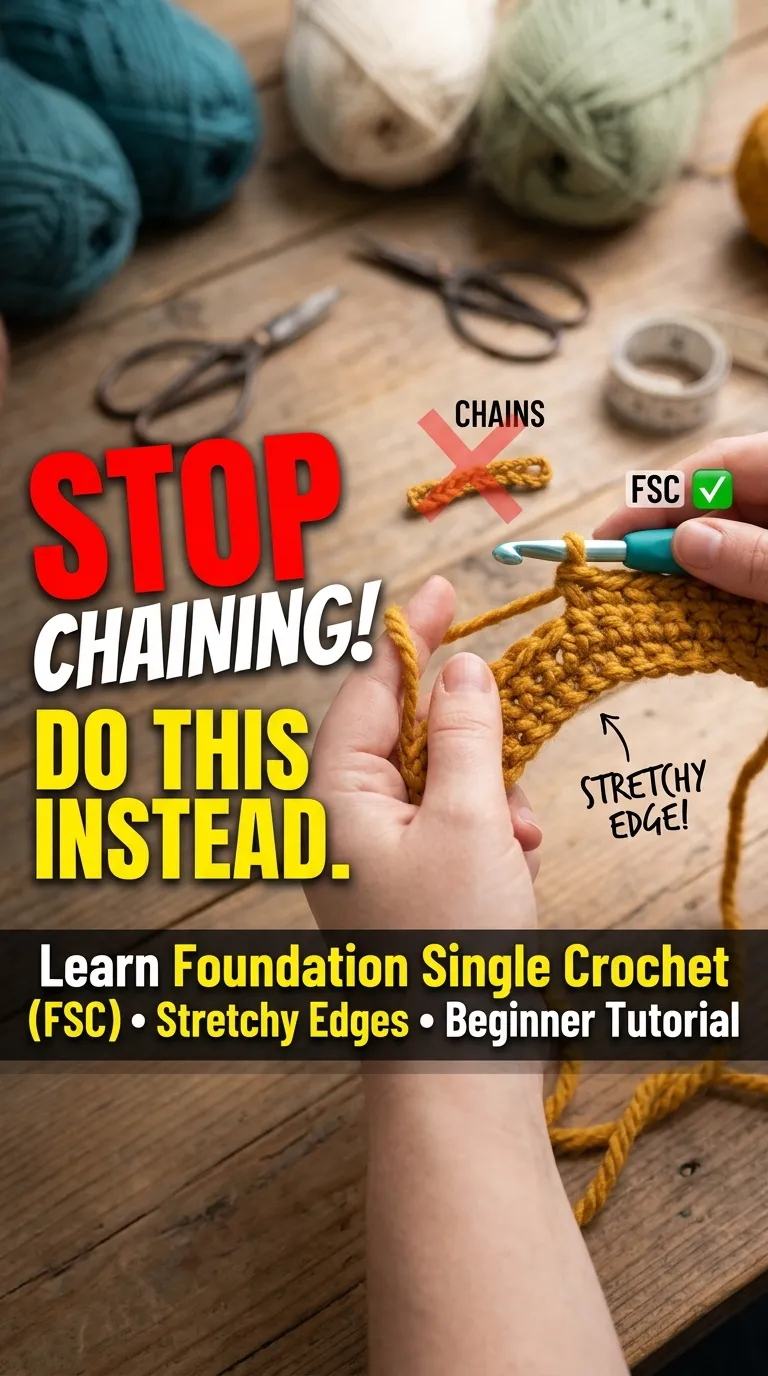
We will build this stitch slowly. First, you create the “chain” at the bottom. Next, you create the “single crochet” at the top. Follow these exact movements closely.
Step 1: The Initial Chains
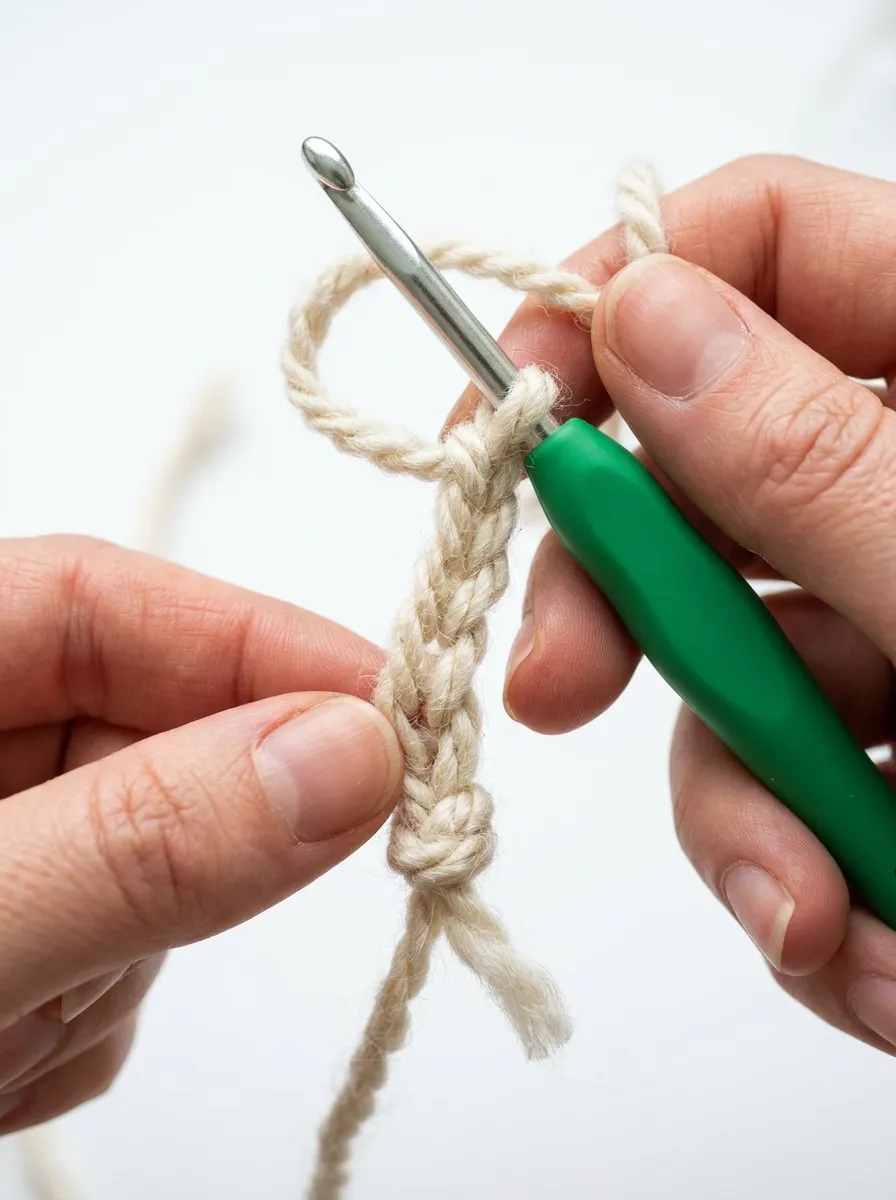
First, create a secure slip knot on your hook. Next, chain exactly two stitches. These two chains act as your starting anchor. Therefore, do not make them overly tight.
Step 2: Inserting the Hook
Now, look at your two chains. First, insert your hook directly into the very first chain you made (the one furthest from your hook). Next, ensure you grab the top loop and the back bump. Consequently, your bottom edge will remain highly secure and durable.
Step 3: Creating the “Chain” Part
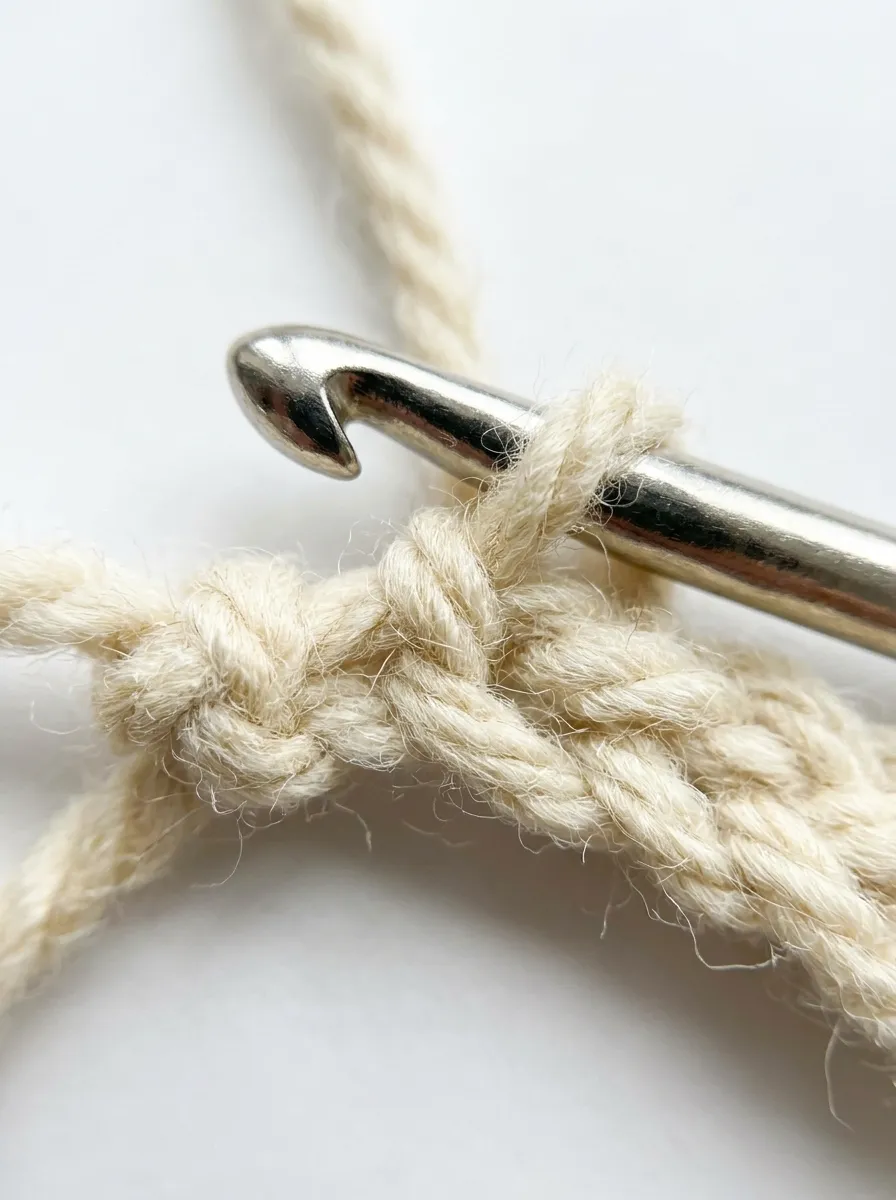
First, yarn over your hook from back to front. Next, pull up a loop through the chain. You now have two loops on your hook. Now, yarn over one more time. Finally, pull through only the first loop on your hook. As a result, you have just created the “chain” for the bottom of the row!
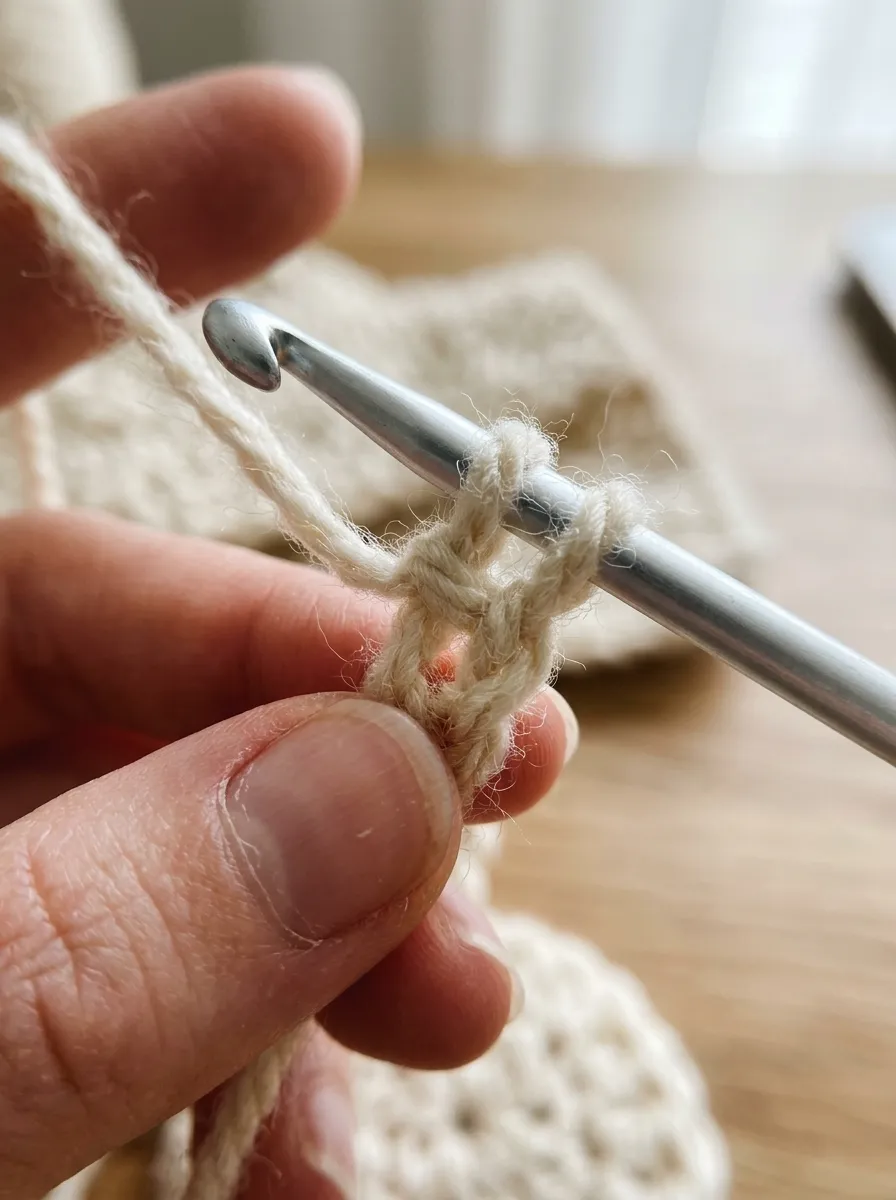
CRITICAL PRO TIP:
Pinch that bottom chain with your left thumb immediately! If you lose track of this specific loop, you will not know where to insert your hook for the next stitch. Thus, pinching it acts as a physical placeholder.
Step 4: Creating the “Single Crochet” Part
You currently have two loops sitting on your hook. First, yarn over again. Next, pull the yarn through both loops simultaneously. Consequently, you have completed the single crochet portion. Indeed, your very first Foundation Single Crochet stitch is entirely finished!
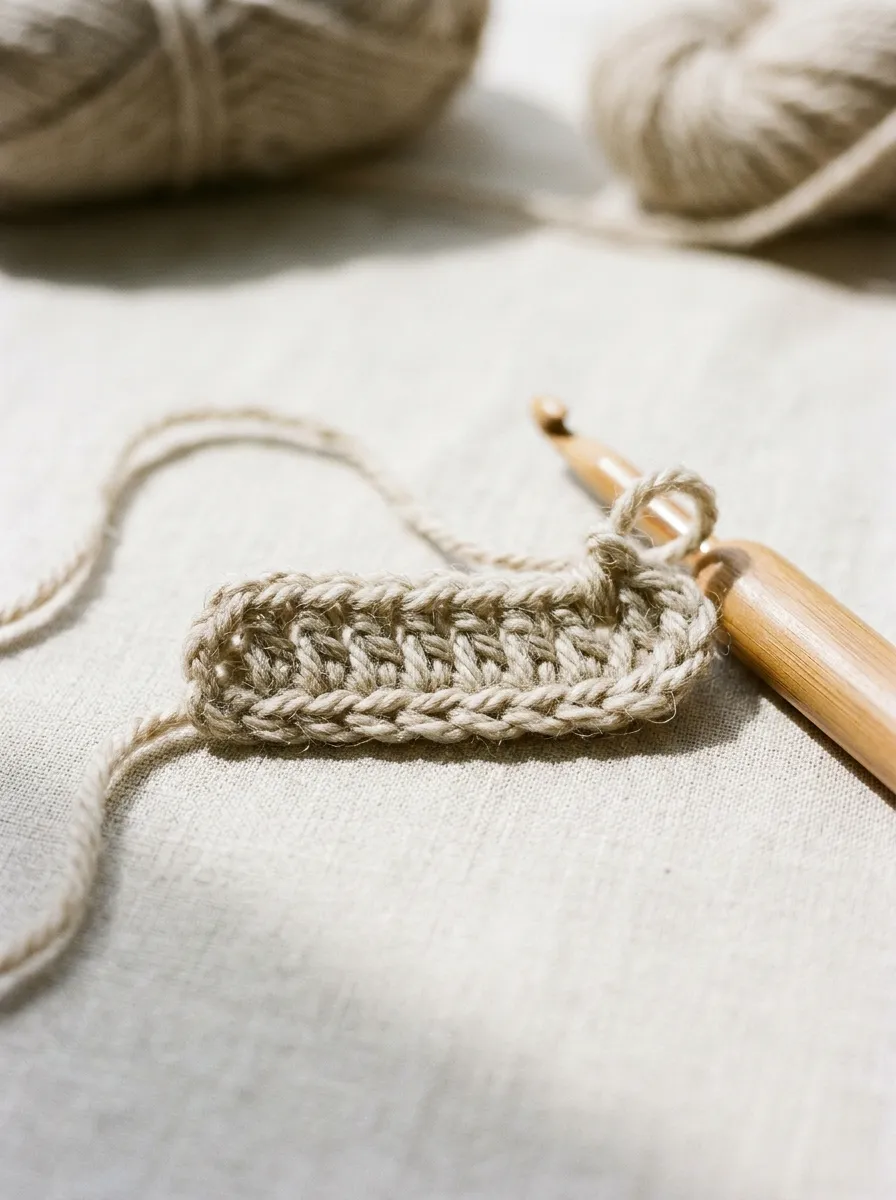
Step 5: Continuing the Row
To make the second stitch, look at the bottom of the stitch you just made. First, insert your hook into that bottom “chain” (the V-shape you pinched earlier). Next, pull up a loop (two loops on hook). Yarn over, pull through one loop (creates the chain). Yarn over, pull through both loops (creates the single crochet). Repeat this constantly until your row reaches the desired length!
Organize Your Crochet Patterns
Learning new stitches means you will start designing your own garments soon. First, you must write down your stitch counts accurately. Next, you need a dedicated place to store your garment measurements. Therefore, I highly recommend using a digital crochet planner.
Digital Crochet Project Planner
Download this editable Canva template. Track your yarn stash, hook sizes, and row counts effortlessly on your iPad.

Troubleshooting Your FSC Row
Beginners always make the same mistakes when learning this technique. Do not panic. Simply pull the yarn out and try again. Here are the most common issues:
1. My row curves aggressively into a rainbow shape.
Your top tension (the single crochet) is significantly tighter than your bottom tension (the chain). Consequently, the fabric curves upwards. First, relax your grip. Next, deliberately pull up taller loops when finishing the single crochet step.
2. There are massive gaps between my stitches.
You are pulling the initial chain loop far too loose. First, insert your hook into the bottom chain. Next, keep the yarn securely tensioned against the hook shaft. Thus, the stitches sit tightly against each other.
Next Steps in Your Crochet Journey
Once you master the foundation row, you must learn the tall stitches. They provide massive drape for sweaters and scarves. Click below to master your next skills:
- How to Half Double Crochet (HDC): The perfect ribbed stitch for cozy winter beanies.
- How to Double Crochet (DC): The absolute staple stitch for classic Granny Squares.
- How to Treble Crochet (TR): Master this tall stitch for beautiful, lacy summer shawls.
- How to Read a Crochet Pattern: Stop getting confused by weird abbreviations and asterisks.
Frequently Asked Questions
Can I use this technique for Double Crochet too?
Yes, absolutely! It is called the Foundation Double Crochet (FDC). First, chain three instead of two. Next, yarn over before inserting your hook into the bottom chain. Consequently, you build a much taller foundation row perfectly.
Does the FSC use more yarn than a regular chain?
No, it uses the exact same amount of yarn as a normal chain plus a row of single crochet. Therefore, your overall yardage calculation remains completely unchanged.
Why is the bottom of my FSC row so messy?
You are probably only grabbing one loop when inserting your hook. Always grab two loops (the top loop and the back bump) of the bottom chain. Thus, your edge remains clean, braided, and highly professional.

Written by Lily
Master Crafter & Crochet Instructor
I teach modern fiber artists how to bridge the gap between messy, vintage crochet traditions and highly structured, contemporary fashion! I heavily focus on tension control, seamless joinery, and proving that classic crochet belongs in modern wardrobes.
Affiliate Disclosure: As a Creative Fabrica and Amazon Associate, I earn from qualifying purchases. If you click a template or yarn link and make a purchase, I may receive a small commission at no extra cost to you.