Your Creative Journey Starts Here: Unraveling the World of Beginner Crochet
Hey there, future yarn enthusiast! Ever walked past those gorgeous handmade scarves and thought, “I wish I could make something like that”? Well, guess what—you absolutely can! Crocheting isn’t just some mystical art reserved for grandmothers and craft store wizards. It’s an accessible, therapeutic, and downright addictive hobby that anyone can master with the right guidance.
Starting your crochet journey might feel overwhelming at first. You’re staring at hooks that look like tiny medieval weapons, and yarn seems to have a mind of its own. But here’s the thing—every expert crocheter started exactly where you are right now. The beauty of easy crochet tutorial patterns for beginners lies in their simplicity and the confidence they build with each completed stitch. Whether you’re looking to create cozy winter accessories, decorative home items, or thoughtful handmade gifts, this comprehensive guide will transform you from a complete novice into someone who can confidently work through basic patterns.
Why Crochet? The Surprising Benefits Beyond Beautiful Creations
Before we dive into the nitty-gritty of patterns and stitches, let’s talk about why crochet has captured millions of hearts worldwide. First off, it’s incredibly meditative. The repetitive motions and focus required naturally calm your mind, making it an excellent stress-buster after long days. Studies have shown that crafting activities like crocheting can reduce cortisol levels and promote mindfulness—pretty amazing for something involving yarn and a hook, right?

The practical benefits are equally compelling. Unlike knitting, crochet uses just one active stitch at a time, making it less likely you’ll drop stitches or create major mistakes. Plus, crochet projects typically work up faster than their knitted counterparts, giving you that satisfying sense of accomplishment sooner. The American craft industry generates billions annually, with crochet representing a significant portion—and you’re about to become part of this creative economy! According to the Craft & Hobby Association, over 30 million Americans participate in needlecrafts, with crochet being among the top three most popular activities.
Essential Tools and Materials: Building Your Crochet Arsenal
The Fundamental Hook Collection
Your crochet hook is your magic wand, and choosing the right ones can make or break your beginner experience. Start with aluminum hooks in sizes G/6 (4.25mm), H/8 (5mm), and I/9 (5.5mm)—these versatile sizes work well with most worsted-weight yarns that beginners typically use. Aluminum hooks glide smoothly through stitches and won’t snag your yarn like some plastic alternatives might.
Don’t feel pressured to buy an entire set immediately. Many successful crocheters started with just one or two hooks and gradually expanded their collection. However, if you’re the type who likes to be prepared (and budget allows), ergonomic handles can prevent hand fatigue during longer sessions. The investment in quality tools pays off when you’re not fighting with your equipment while trying to master new techniques.

Yarn Selection: Your Colorful Building Blocks
Here’s where things get exciting—choosing yarn! For beginners, worsted-weight acrylic yarn is your best friend. It’s affordable, forgiving, machine-washable, and comes in virtually every color imaginable. Brands like Red Heart Super Saver, Lion Brand Pound of Love, or Bernat Super Value offer excellent value and consistency that beginners need.
Avoid fuzzy yarns, metallics, or dark colors initially. These can make it difficult to see individual stitches, which is crucial when you’re learning. Light colors like cream, pale yellow, or soft pink will help you clearly see your work and catch mistakes early. Once you’ve mastered the basics, you can experiment with luxurious fibers like wool, cotton, or even specialty yarns with sequins or texture variations.
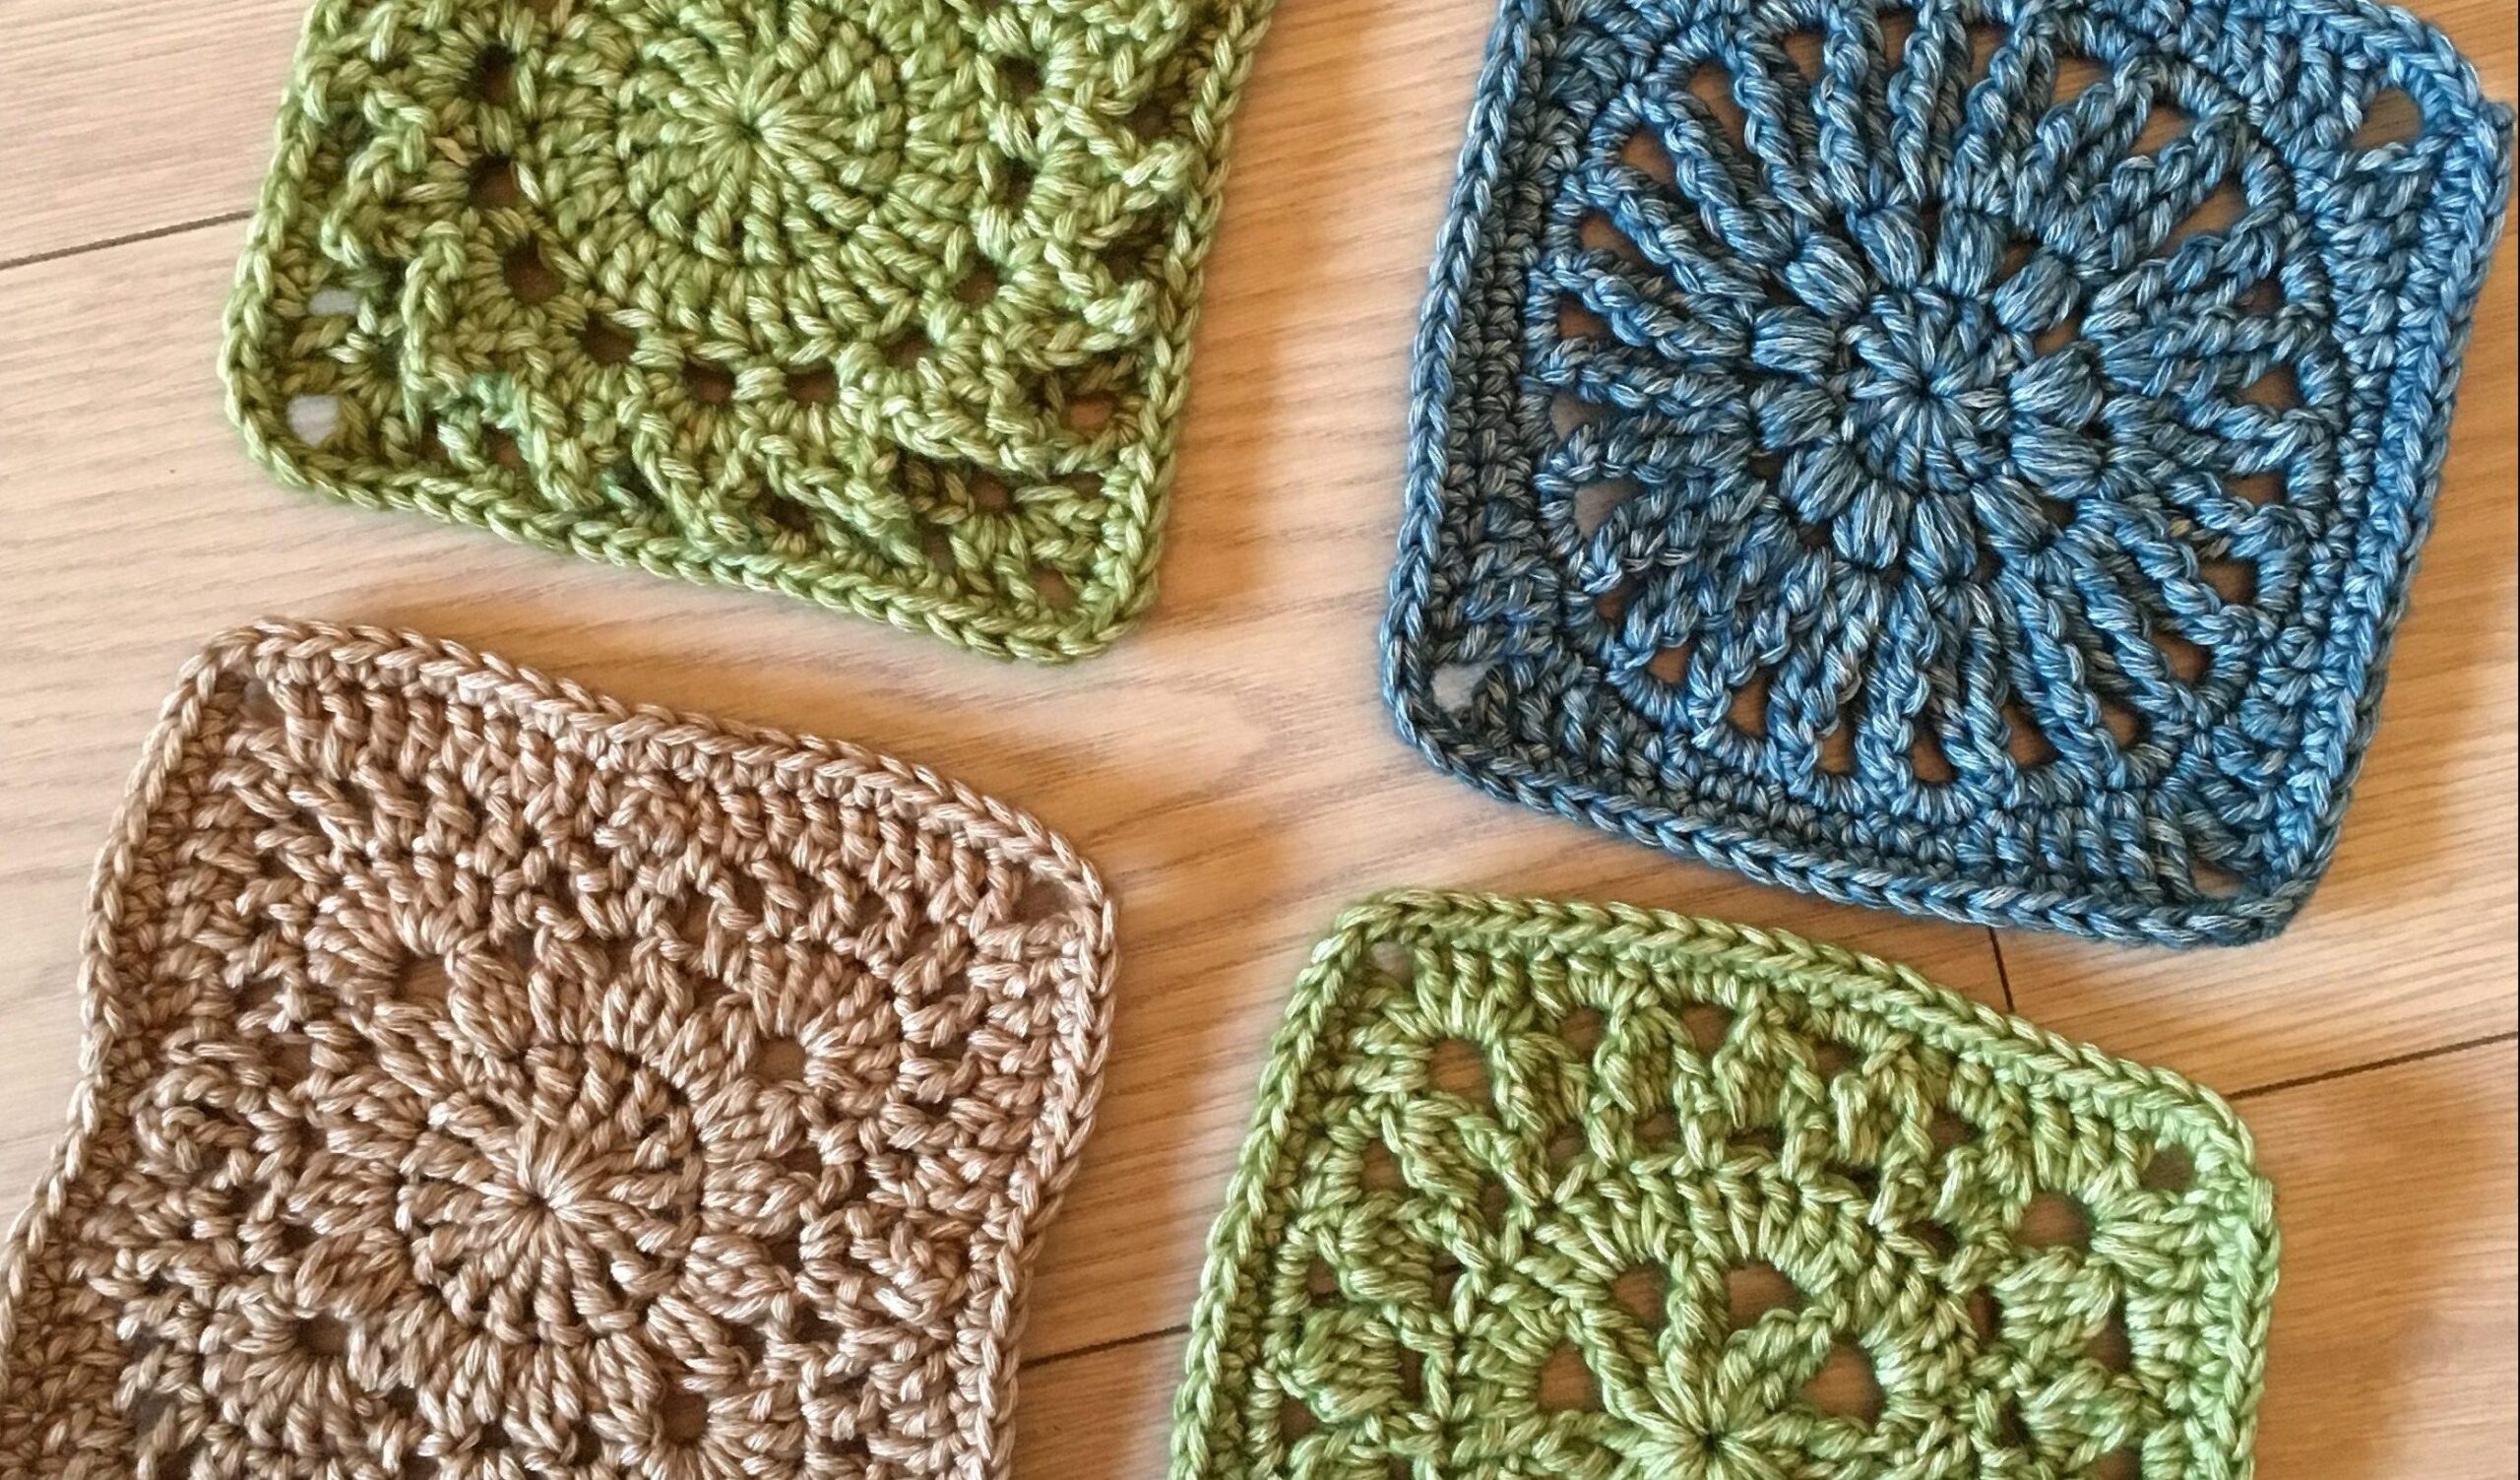
Mastering the Foundation: Basic Stitches That Build Everything
The Chain Stitch: Your Starting Point
Every crochet project begins with the humble chain stitch, and honestly, it’s simpler than you think! Start by making a slip knot on your hook—just like tying your shoe, but with more yarn and less walking involved. Yarn over (wrap the yarn around your hook from back to front) and pull through the loop on your hook. Congratulations, you’ve made your first chain!
The chain stitch creates the foundation for most projects, kind of like laying the foundation for a house. Practice making chains of different lengths until the motion feels natural. Your tension—how tightly you hold the yarn—will affect the uniformity of your chains. Too tight, and you’ll struggle to insert your hook for the next row. Too loose, and your foundation will look sloppy. Finding that Goldilocks zone of “just right” tension comes with practice, so don’t stress if your first attempts look a bit wonky.
Single Crochet: The Workhorse Stitch
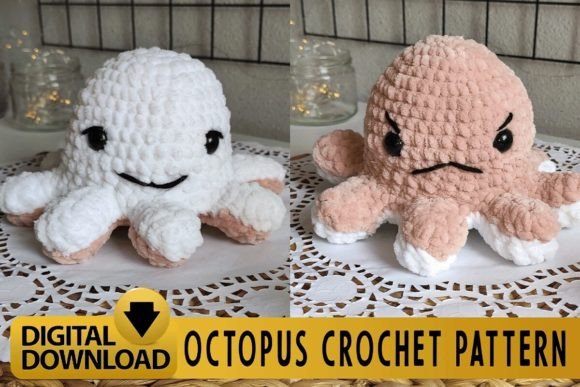
Single crochet (abbreviated as “sc” in patterns) is probably the most used stitch in beginner patterns. It creates a tight, sturdy fabric perfect for dishcloths, pot holders, or the body of amigurumi (those adorable crocheted stuffed animals you see everywhere). To work a single crochet: insert your hook into the designated stitch, yarn over and pull through (you’ll have two loops on your hook), yarn over again and pull through both loops.
This stitch might feel awkward initially—like trying to pat your head and rub your stomach simultaneously. But muscle memory develops quickly with consistent practice. Many beginners find it helpful to count out loud: “Insert, yarn over, pull through, yarn over, pull through both.” The Crochet Guild of America recommends practicing single crochet in rows until you can maintain consistent tension and stitch count without constantly recounting.
Your First Projects: Easy Wins That Build Confidence
Project #1: The Classic Dishcloth
Nothing says “I’m a crocheter now!” quite like a stack of handmade dishcloths. This project uses only single crochet stitches and creates something genuinely useful for your kitchen. You’ll need approximately 95 yards of cotton yarn (cotton is ideal for dishcloths because it’s absorbent and withstands frequent washing).
Pattern Instructions:
- Chain 31 (this creates a roughly 8-inch square)
- Row 1: Single crochet in the 2nd chain from hook and each chain across (30 sc)
- Row 2: Chain 1, turn, single crochet in each stitch across (30 sc)
- Repeat Row 2 until your piece measures approximately 8 inches tall
- Fasten off and weave in ends
The beauty of this project lies in its forgiving nature. If you make a mistake, it’s easy to undo and fix. Plus, you’ll end up with a practical item that makes you feel accomplished every time you use it. Consider this your crochet training wheels—once you’ve mastered the dishcloth, you’re ready for more complex adventures!
Project #2: Cozy Infinity Scarf
An infinity scarf might sound intimidating, but it’s essentially a really long rectangle sewn into a loop. This project introduces you to working longer pieces and maintaining consistent stitch count over multiple rows. You’ll use approximately 300-400 yards of worsted-weight yarn, depending on how wide and long you want your scarf.
The pattern combines single crochet with half double crochet (hdc), giving you experience with a slightly taller stitch. Half double crochet creates a fabric with more drape than single crochet, perfect for wearable accessories. The rhythm of alternating between these stitches creates an interesting texture while remaining beginner-friendly. Once completed, you’ll have a stylish accessory that looks far more complicated than it actually was to make!
Reading Patterns Like a Pro: Cracking the Code
Understanding Abbreviations and Symbols
Crochet patterns can look like they’re written in a secret code at first glance. What does “ch 3, dc in next st, *ch 1, sk 1 st, dc in next st; rep from * across” even mean? Don’t panic—every crocheter has felt this way! Pattern abbreviations are standardized shortcuts that make instructions more concise.
Common abbreviations you’ll encounter include: ch (chain), sc (single crochet), hdc (half double crochet), dc (double crochet), st (stitch), and rep (repeat). The asterisks (*) indicate sections to repeat, while brackets or parentheses group stitches together. Most patterns include an abbreviation key, and keeping a reference chart nearby during your first few projects is perfectly normal. The Craft Yarn Council maintains standardized abbreviation lists that most pattern designers follow.
Gauge: Why It Matters More Than You Think
Gauge might seem like an unnecessary step when you’re eager to start your project, but it’s actually your best friend for ensuring proper fit and appearance. Gauge refers to how many stitches and rows you achieve per inch with specific yarn and hook combinations. Even if two people use identical materials, their individual tension can create dramatically different results.
Making a gauge swatch involves crocheting a small sample (usually 4×4 inches) and measuring it carefully. If your gauge matches the pattern requirements, you’re good to go. If it’s too tight, try a larger hook. Too loose? Size down. This extra step prevents the heartbreak of spending hours on a sweater that could fit either you or your Great Dane, depending on your tension!
Troubleshooting Common Beginner Mistakes
The Case of the Disappearing Stitches
Nothing’s more frustrating than starting with 30 stitches and mysteriously ending up with 27 by row five. This common issue usually stems from not recognizing the first and last stitches of each row. The first stitch can hide under the turning chain, while the last stitch might not look like its neighbors due to different tension.
To prevent this issue, use stitch markers (or even bobby pins!) to mark your first and last stitches of each row. Count your stitches frequently, especially while learning. If you notice you’re consistently losing stitches on one end, you’re probably missing that edge stitch. It’s better to catch and fix these issues after a few rows than to realize you’ve created a triangle instead of a rectangle after completing the entire project!
Tension Troubles: Finding Your Goldilocks Zone
Inconsistent tension creates fabric that looks uneven and can affect the drape and appearance of finished projects. New crocheters often start with death-grip tension (gripping the yarn and hook like they’re defusing a bomb) before gradually relaxing as they gain confidence. This progression actually shows up in your work as stitches that start tight and gradually become looser.
Practice holding your yarn consistently—the working yarn should flow smoothly over your index finger, while your middle finger and thumb control the fabric. Some people prefer wrapping the yarn around their pinky for additional tension control. Experiment with different holding methods until you find what feels natural and produces consistent results.
Building Your Skills: Intermediate Techniques for Beginners
Color Changes: Adding Visual Interest
Once you’re comfortable with basic stitches, color changes open up endless creative possibilities. The technique itself is straightforward: when you have two loops remaining on your hook before completing a stitch, yarn over with your new color and pull through both loops. This creates a clean color transition without any awkward color bleeding between rows.
Planning color changes requires some forethought. Sketch your design or use graph paper to map out patterns. Simple stripes work well for beginners—alternating two colors every few rows creates dramatic visual impact without complicated stitch work. Remember to carry your unused yarn loosely along the side rather than cutting it after each color section, unless you’re changing colors permanently.
Shaping Techniques: Increases and Decreases
Creating shaped pieces (think fitted sweaters or curved edges) requires increasing and decreasing stitches strategically. Increases involve working multiple stitches into a single stitch from the previous row, while decreases combine multiple stitches into one. These techniques sound more complex than they actually are!
For increases, simply work two stitches into one stitch from the previous row. The fabric will naturally expand at that point. Decreases involve inserting your hook into one stitch, yarn over and pull through (but don’t complete the stitch), then insert your hook into the next stitch, yarn over and pull through. Now you have three loops on your hook. Yarn over and pull through all three loops, effectively combining two stitches into one.
Digital Resources and Communities: Your Extended Crochet Family
YouTube Channels That Actually Help
Visual learners, rejoice! YouTube has revolutionized how people learn crochet, offering free tutorials that let you pause, rewind, and replay difficult sections. Channels like “Crochet Guru,” “Bella Coco,” and “The Crochet Crowd” provide clear, well-lit instruction that supplements written patterns beautifully.
When choosing tutorial channels, look for instructors who maintain consistent hand positions throughout their demonstrations and explain not just what they’re doing, but why. The best channels also show common mistakes and how to fix them, rather than presenting only perfect examples. Many channels offer beginner-specific playlists that progress logically from basic stitches through complete projects.
Online Communities and Pattern Sharing
The crochet community is incredibly welcoming and supportive, both online and offline. Ravelry, often called “Facebook for fiber artists,” hosts millions of free and paid patterns, plus active forums where you can ask questions and share progress photos. Reddit’s r/crochet community provides daily inspiration and troubleshooting support from crocheters worldwide.
Local crochet circles and library craft groups offer in-person learning opportunities that digital resources can’t replicate. There’s something special about learning alongside others who share your enthusiasm. Many craft stores host free beginner workshops, and the social aspect makes learning more enjoyable while building lasting friendships with fellow makers.
Frequently Asked Questions
How long does it take to learn basic crochet? Most people can master basic stitches within a few hours of practice, but developing consistent tension and reading simple patterns typically takes a few weeks of regular practice. Everyone learns at their own pace, so don’t worry if it takes longer!
What’s the difference between crochet and knitting? Crochet uses a single hook and works with one active loop, while knitting uses two needles and maintains multiple active loops. Crochet generally works up faster and is more forgiving of mistakes, making it ideal for beginners.
How much should I spend on supplies as a beginner? You can start with as little as $15-20 for a basic hook, yarn, and scissors. Avoid expensive supplies initially—focus on learning techniques with affordable materials before investing in premium tools and fibers.
Can children learn to crochet? Absolutely! Children as young as 6-8 can learn basic crochet with appropriate supervision and child-sized hooks. It’s excellent for developing fine motor skills and patience.
What’s the most versatile stitch to learn first? Single crochet is the most versatile foundation stitch. It’s used in countless patterns and creates a sturdy, even fabric suitable for many projects.
Wrapping Up: Your Creative Adventure Awaits
Starting your crochet journey with easy crochet tutorial patterns for beginners opens doors to a lifetime of creative satisfaction and practical skill-building. Remember, every expert was once a beginner fumbling with their first chain stitch! The key is consistent practice, patience with yourself, and celebrating small victories along the way.
Your crochet adventure doesn’t end with mastering basic stitches—it’s just the beginning! As you build confidence with simple projects like dishcloths and scarves, you’ll naturally gravitate toward more complex patterns and techniques. The satisfaction of creating something beautiful and functional with your own hands is addictive in the best possible way. So grab your hook, choose your favorite yarn color, and let’s get started on this wonderful journey together. Before you know it, you’ll be the one inspiring other beginners with your gorgeous handmade creations!